TIPS & TRICKS 1
Using the procedures described above, imaging of the larynx is successful in almost all patients. However, there remain a few cases in which endoscopy “doesn’t work” in the sense that there are problems with the image quality or the vocal folds or the anterior commissure are not visible, or it is unclear how to interpret the organic findings. In the following section we describe tips and tricks and special maneuvers that help to cope with such problems and that give additional information about morphology and laryngeal functions. Some solutions apply to both rigid and flexible endoscopy. Keep in mind that some maneuvers solve different problems, and some problems can be handled using different maneuvers. We have divided this chapter into four parts: : Poor Image Quality; Patient-Related Problems; Special Maneuvers; Special Positioning of the Endoscope or the Patient.
How to Solve Problems with Poor Image Quality
Sometimes technique related problems occur during endoscopy and worsen image quality so you cannot see enough.
Examples for reduced image quality are shown and solutions for these situations are described in this section.
Preconditions for Adequate Imaging
- Overall clean lens
- “White-balance”
- Adequate color and contrast
- No image rotation
- Region of interest (ROI) centered
- Adequate focus on the ROI
- Overall sufficient illumination
- Sufficient magnification

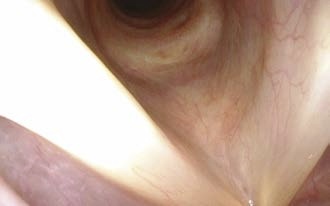
Problem: Colors
Unnatural colors (here: Too yellow)

Solution:
White-balance the image
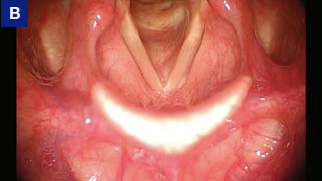
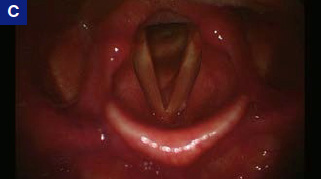
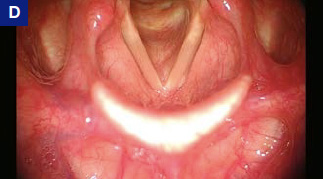
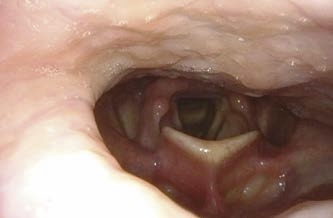
Problem: Blurred Image
Endoscope lens is blurred
A) Problem with fogging, B–E) Problem with secretions on the lens

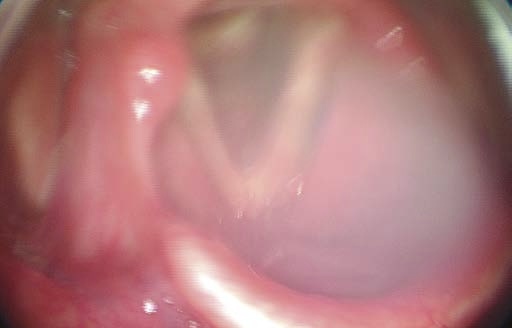
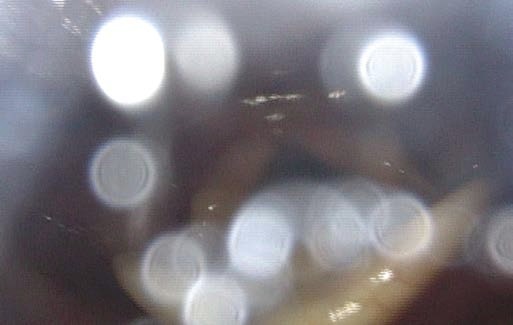
Solution:
- Clean the lens by wiping it over the base of the tongue (rigid endoscopy: With a quick in-and-out movement in the direction of the endoscope).
- Ask the patient to cough. (“air brush”)
- Ask the patient to exhale forcefully while holding the tip of the endoscope above the glottis.
- Ask the patient to swallow. Swallowing provides a sort of “lens wiper” action (but only when performing flexible endoscopy).
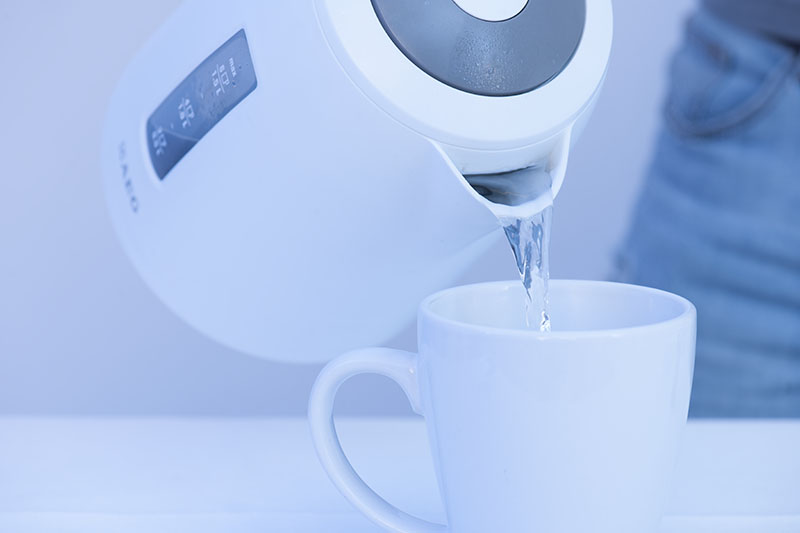
- Ask the patient to swallow some water (flexible endoscopy).
- If the patient is supine and is producing copious secretions; the secretions tend to pool close to the tip of the endoscope, blurring the lens. Solution: Turn the tip of the endoscope so that it lies in a more horizontal plane
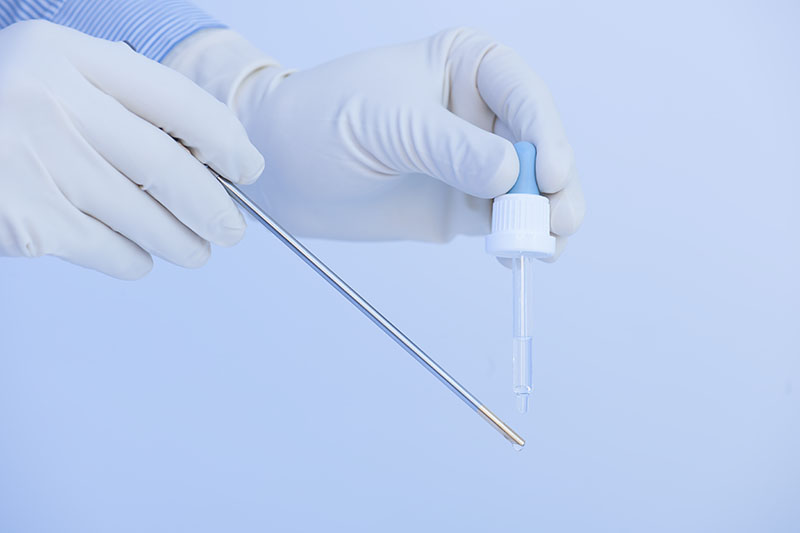
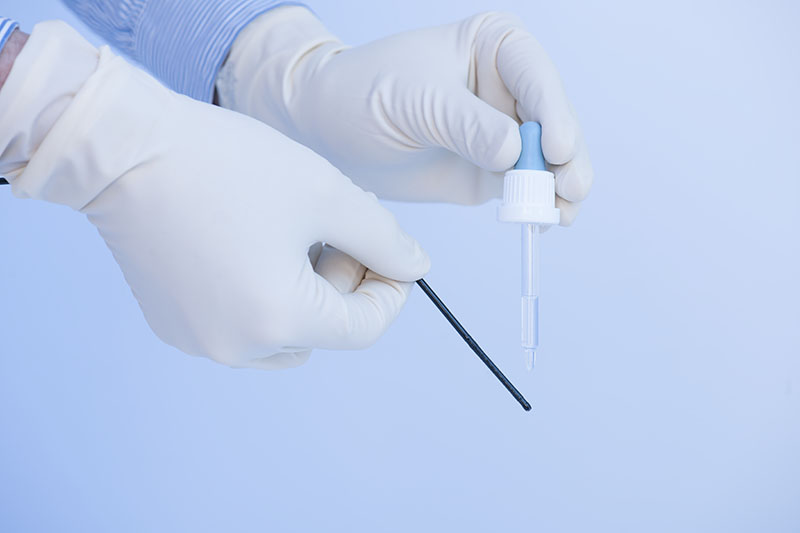
Problem: Blurred Image due to Fogging of the Lens
A blurred image can also be due to fogging of the distal lens.
Solution:
There are various techniques available to prevent fogging of the distal lens. Here we show some useful methods.
- Use of antifog solution
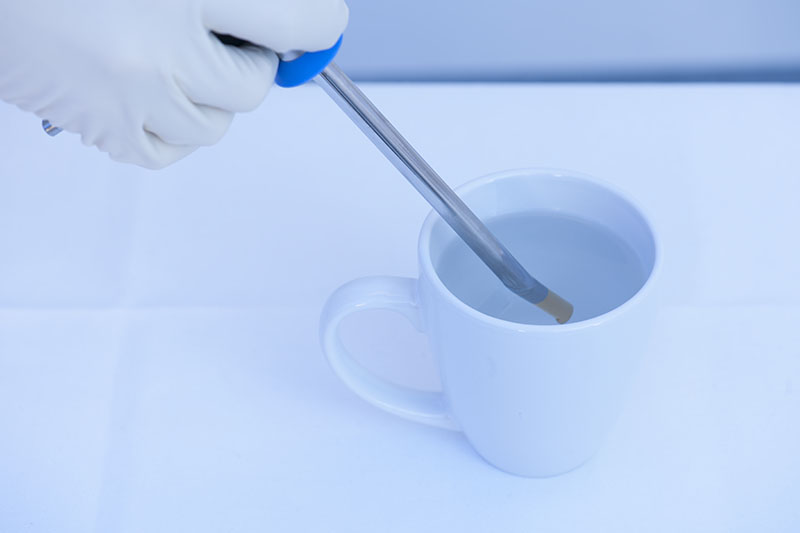
- Warming of the tip of rigid endoscope, e.g. with hot water (don’t try this with flexible endoscopes)
- Touch mucosa of cheek or tongue: Saliva is a good antifog lubricant.
Problem: Defocussed Areas
Not all structures in focus
Solution:
“You can’t get it all”!
→ Searching for best focus depending on region of interest (ROI). Sometimes you need multiple images.
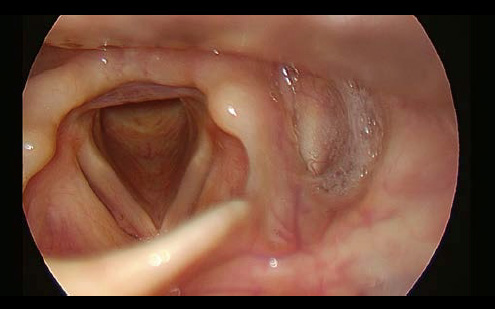
Problem: ROI Not Centered
Region of interest not centered and thus not focussed (rigid endoscope)
Solution:
Move the tip of the endoscope medially.
Problem: Image Brightness Not Convincing
When the lens of the endoscope is placed very close to a surface, the image becomes overmodulated and ‘washed-out’ due to automatic camera overcorrection (average brightness of all pixel brightness values).
These images show how illumination (brightness) can change image quality. Images which are too dark or too bright “lose” information.
Solution:
Here again: You can’t get it all in one image
→ Decrease light intensity by changing the gain control of the camera unit or light source from automatic to manual to adjust the illumination
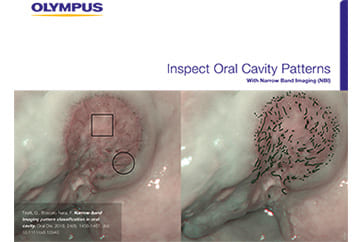
→ Change to another light quality such as blue stroboscopy light or NBI.
Problem: Brightness Level
Image too bright
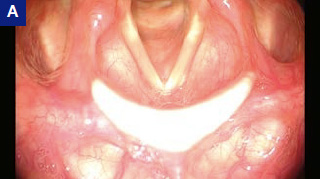
Solution:
A) Overmodulated image – use AGC or reduce the brightness manually. B) Same view with decreased light intensity
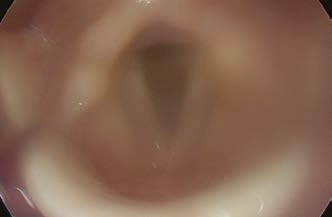
Problem: Brightness Level
Image too dark
Solution:
AGC or manual brightness enhancement
Note:
Sometimes regions of interest are optimally illuminated when the overall image is dark or bright.
FEES should be performed without setting automatic gain control of the lighting.
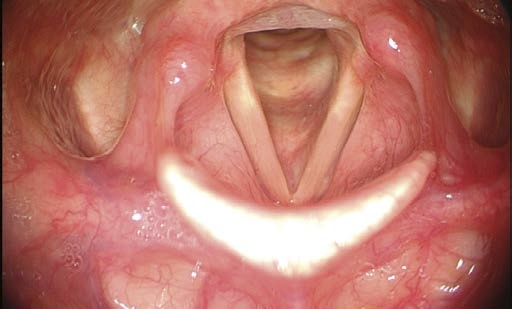
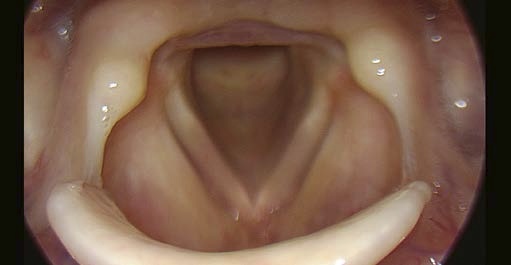
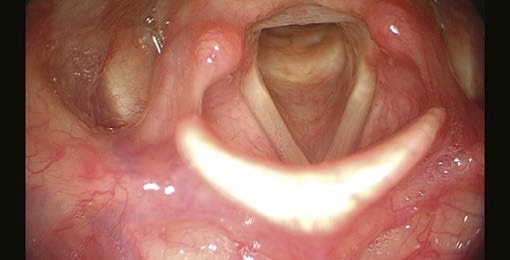
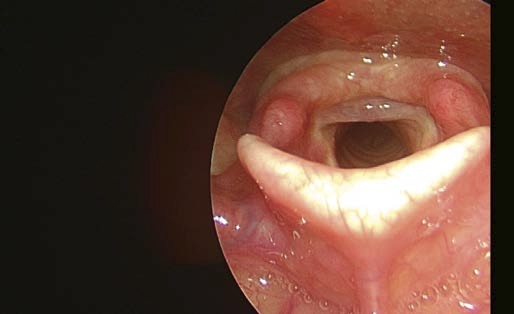
Problem: Partially Overmodulated – Not ROI
Look at illumination levels: Structures that are close to the lens (here: the velum) are overmodulated. Consequently, the camera reduces the light output (AGC mechanism), thereby producing insufficient laryngeal illumination.
Solution:
Because the larynx is your ROI, advance the endoscope. Try to shift the lens away from anatomical structures that get in the way of the endoscope’s passage.
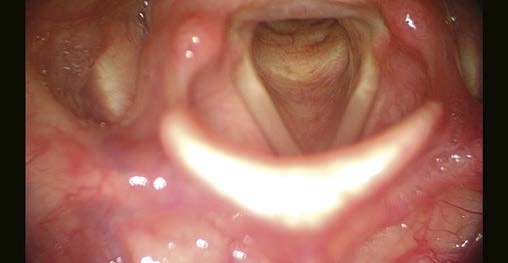
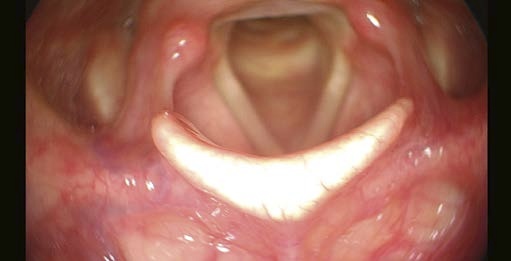
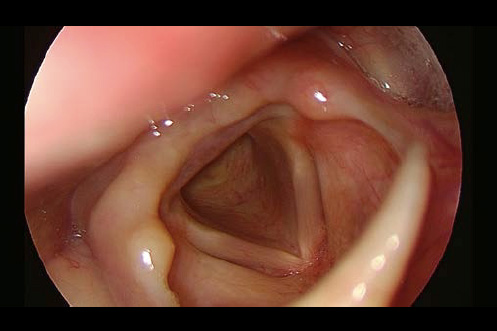
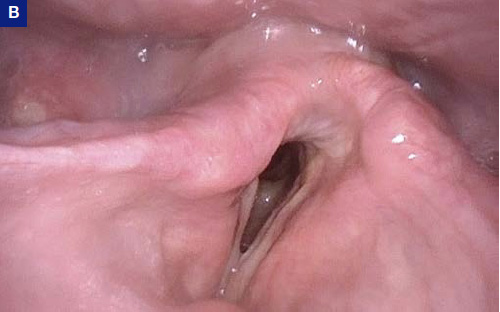
Problem: Partially Overmodulated - but ROI
Note the differences in brightness within the image. The overmodulation of the camera is due to the apparent “white” tissue area caused by reflections. With AGC selected, the camera gain, which responds to average light values, would be reduced. This would produce an overall darkening of the image.
Solution:
Decide where the ROI lies. In this image the anterior commissure and anterior subglottic region are optimally illuminated. The right posterior vocal fold is too bright. If the right vocal fold is of interest, you can (A) wait until AGC reacts and then the vocal fold will be seen clearly, or, (B) when AGC is deactivated, move your endoscope away from the vocal fold to avoid overmodulation. (C) Three other alternatives remain: Switch on the strobe light (which is usually not as bright), or use NBI-illumination, or ask an assistant to turn down the light power.
Problem: Interlacing
Motion artifacts with jagged, serrated contours.
Solution:
Camera recording problem. If interlacing occurs too often, change the image-capture mode by reducing frame-grabbing settings to odd or even fields (camera settings).
Problem: “Striped” Image
Poor image quality, “striped” image (only with standard glass-fiber flexible endoscopes).
Solution:
Minimize moiré by slight defocussing
Problem: Image Rotated
The sagittal direction of the larynx is not vertically oriented on the monitor (rigid endoscopes)
Solution:
Correct alignment by rotating the (detachable) camera.
Problem: Asymmetric Camera Frame
Black margins are asymmetric (rigid endoscopes and standard flexible endoscopes).
Solution:
Warning! The camera adapter is only partially attached to the endoscope eyepiece. The camera could become disconnected and fall off with the next movement. Stop the examination and reconnect the adapter to the eyepiece.
Patient-Related Problems: Secretions and Gag Response
Unfortunately, not all patients are within normal limits when it comes to suitability for endoscopy. But we can also cope with these challenges. The most annoying factors that we encounter are secretions as well as the “foaming” saliva pooling in our ROI, which especially occurs after topical anesthesia, and, as everybody knows: The exaggerated gag response!
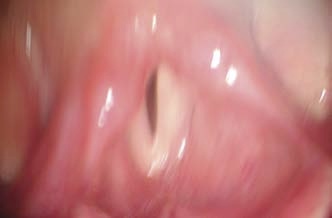
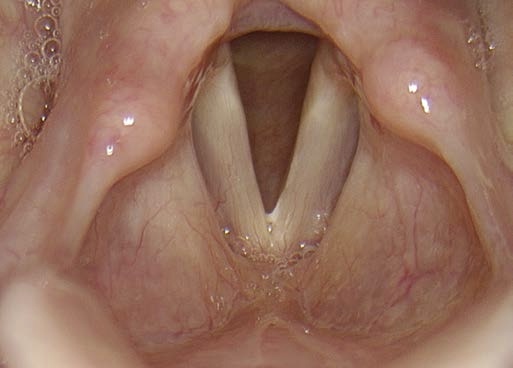
Problem: Mucus Disturbance
Mucus typically accumulates in the mid-membranous region of the free edge of the vocal fold when the patient phonates, thus either covering or mimicking prenodular lesions, nodules or leukoplakia.
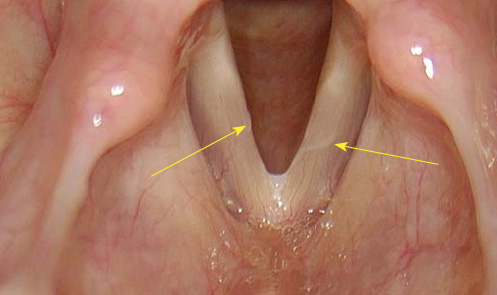
Solution:
To differentiate between mucus on the vocal folds and mucosal lesions (both in rigid and flexible laryngoscopy):
→ Repetitive soft throat-clearing, if necessary with increasing force, or cough until you see the free edge of the vocal fold.
→ If coughing elicits a gag response, try with inspiratory phonation or with forced and rapid inspiration. It sometimes sucks the saliva away.
Problem: Extensive Gag Response
If there is an extensive gag response or coughing in spite of anesthesia the examination might not be possible.
Solution:
- Maximize spray anesthesia
- Use pantocaine instead of lidocaine
- Anesthesia of larynx
- Let the patient phonate “eee” as long as possible (with or without a strobe) as a distraction!
- Acupressure at midpoint between lower lip and chin (Ren 24 Chengjiang, point in the middle of the mentolabial fold)
Flexible Endoscopy:
- Slow inspiration through nose (see Dipping Maneuver)
Rigid Endoscopy:
- Patient position: Elbows on knees
- Let the patient breathe through the mouth!
- Let the patient continue breathing and ask them not to hold their breath
- Close the nose to force breathing through the mouth
- Ask the patient to pant continuously
- Choose very lateral intraoral position for endoscope
- Change from 90° to 70° rigid endoscope (or to flexible endoscope)
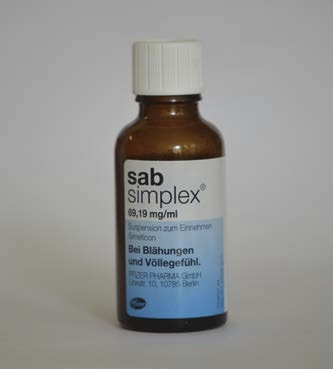
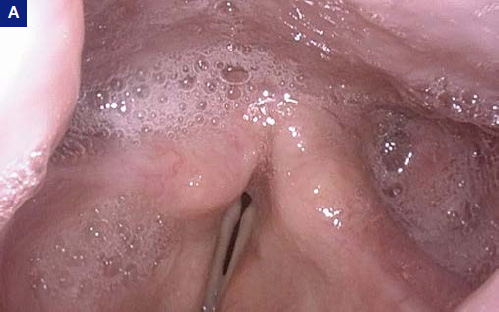
Problem: Foaming
Foaming
After local anesthesia some patients react with “foaming” of secretions, i.e. increasingly foamy mucus accumulates and interferes with the examination. The annoying fact is that swallowing actually increases foaming.
Solution:
To reduce foaming, you can
A) Use a suction tube and suck all secretions away or
B) Use Dimeticon and liquify the foam, so that it can be swallowed.
- Keyword
- Content Type