Procedure Steps
Disclaimer
This surgical technique is presented to demonstrate the technique utilized by Prof. Raßler, MD of the Urology Department at the St. Elisabeth Hospital in Leipzig (Germany).
This procedure guide is a voluntary service of Olympus, compiled with the greatest possible care. The guide is not meant to replace the instructions for use. Any user of this product must at all times observe all mandatory information for the product, found, in particular, on the labels and the instructions for use. This guide merely contains guideline values which must be verified by the HCP for their applicability in the single case and do not represent medical advice or recommendations. Depending on the individual circumstances, it may be necessary to deviate from the generic information provided in this guide.
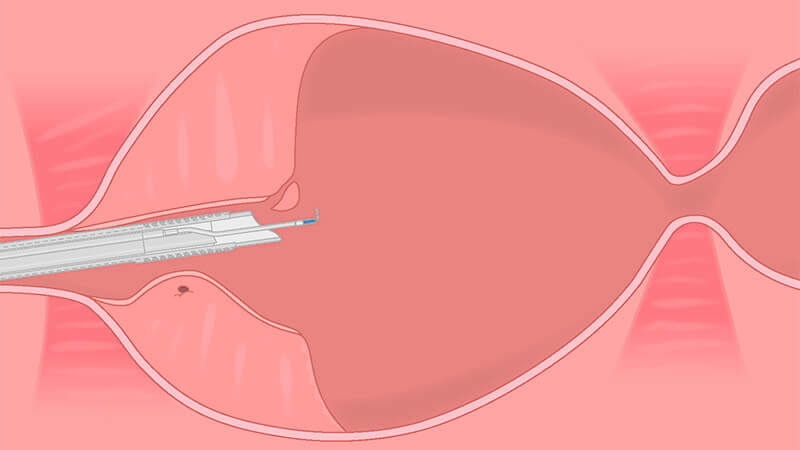
01 | Cystoscopy with Inspection of Urethra
Inspection of the Urethra and Bladder.
Inspect left and right ostium, bladder, verumontanum, internal and external sphincter.
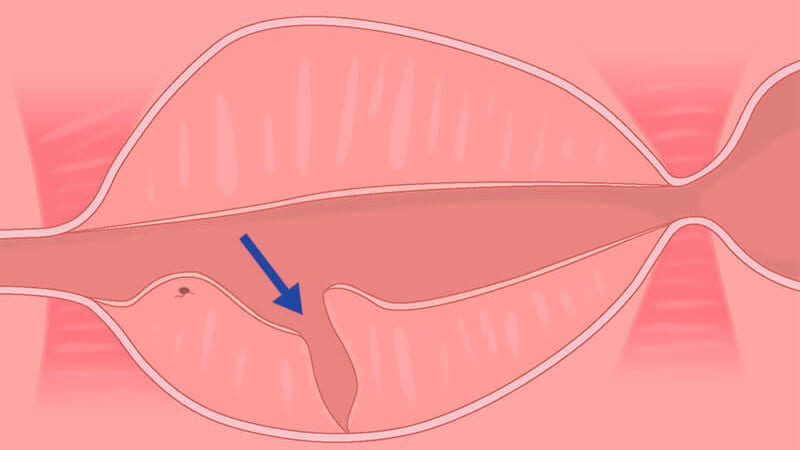
02 | Marking of Resection Borders
After inspecting the left and right ostium, bladder, verumontanum and internal and external sphincter, start with the proximal marking of the verumontanum in EP procedures.
Use the coagulation mode of the loop to superficially mark the resection borders at a distance of approximately two loops from the verumontanum.
It is already possible to mark the working boundaries circumferentially — laterally, anteriorly and proximally to the verumontanum.
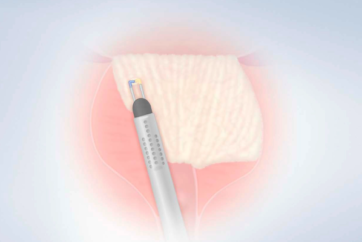
03 | Resection of Irrigation Channel at 6 O’Clock Position or of Medial Prostate Lobe
PLASMA resection of the irrigation channel or, if present, a complete resection of the median lobe.
With a two-lobe prostate, resect the 6 o’clock position starting at the bladder neck, moving down to the borders of resection.
With a three-lobe prostate (median lobe), make two incisions at the 5 and 7 o’clock positions.
Complete steps 4.1 to 4.3 for one lobe before continuing with the other lobe.
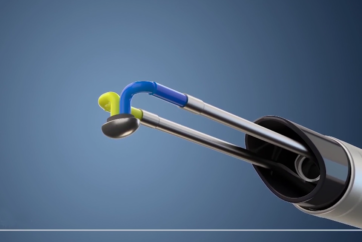
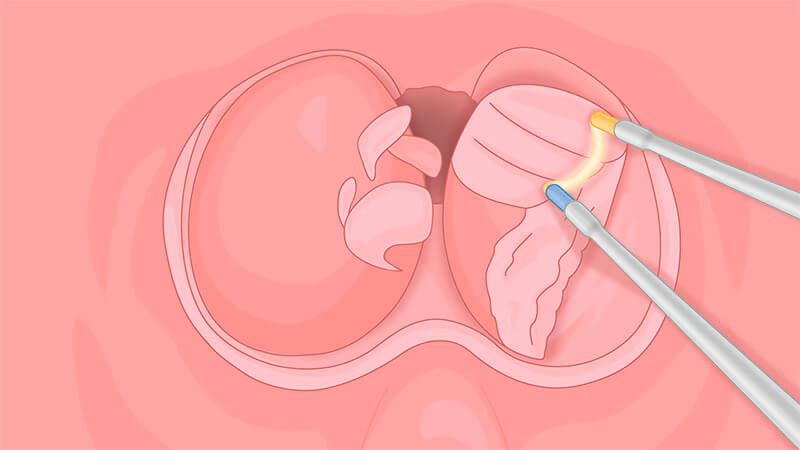
4.1 | Initiation of Enucleation of the Prostate Lobe
Paracollicular prograde incision with PLASMA of the mucosa of the lobe.
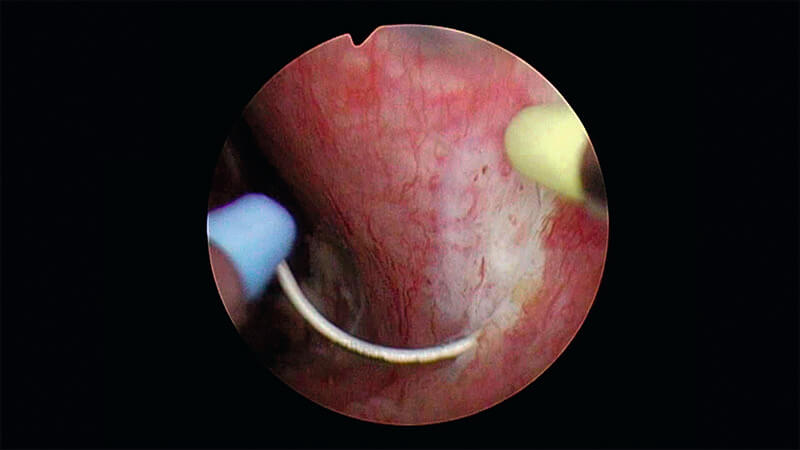
Before beginning this step, ensure that the mucosa is incised prograde distally and laterally to the verumontanum.
Cut approximately 1 to 2 loops deep until the surgical capsule is identified.
If ejaculatory function is to be spared, the incision around the verumontanum should be at a distance of approx. 2 loop diameters.
Begin to find the plane between the capsule and prostatic lobe and separate the adenoma from the capsule by using the spatula of the TUEB electrode as a lever.
The elevation of the adenoma is a gentle maneuver and should be performed without too much force.
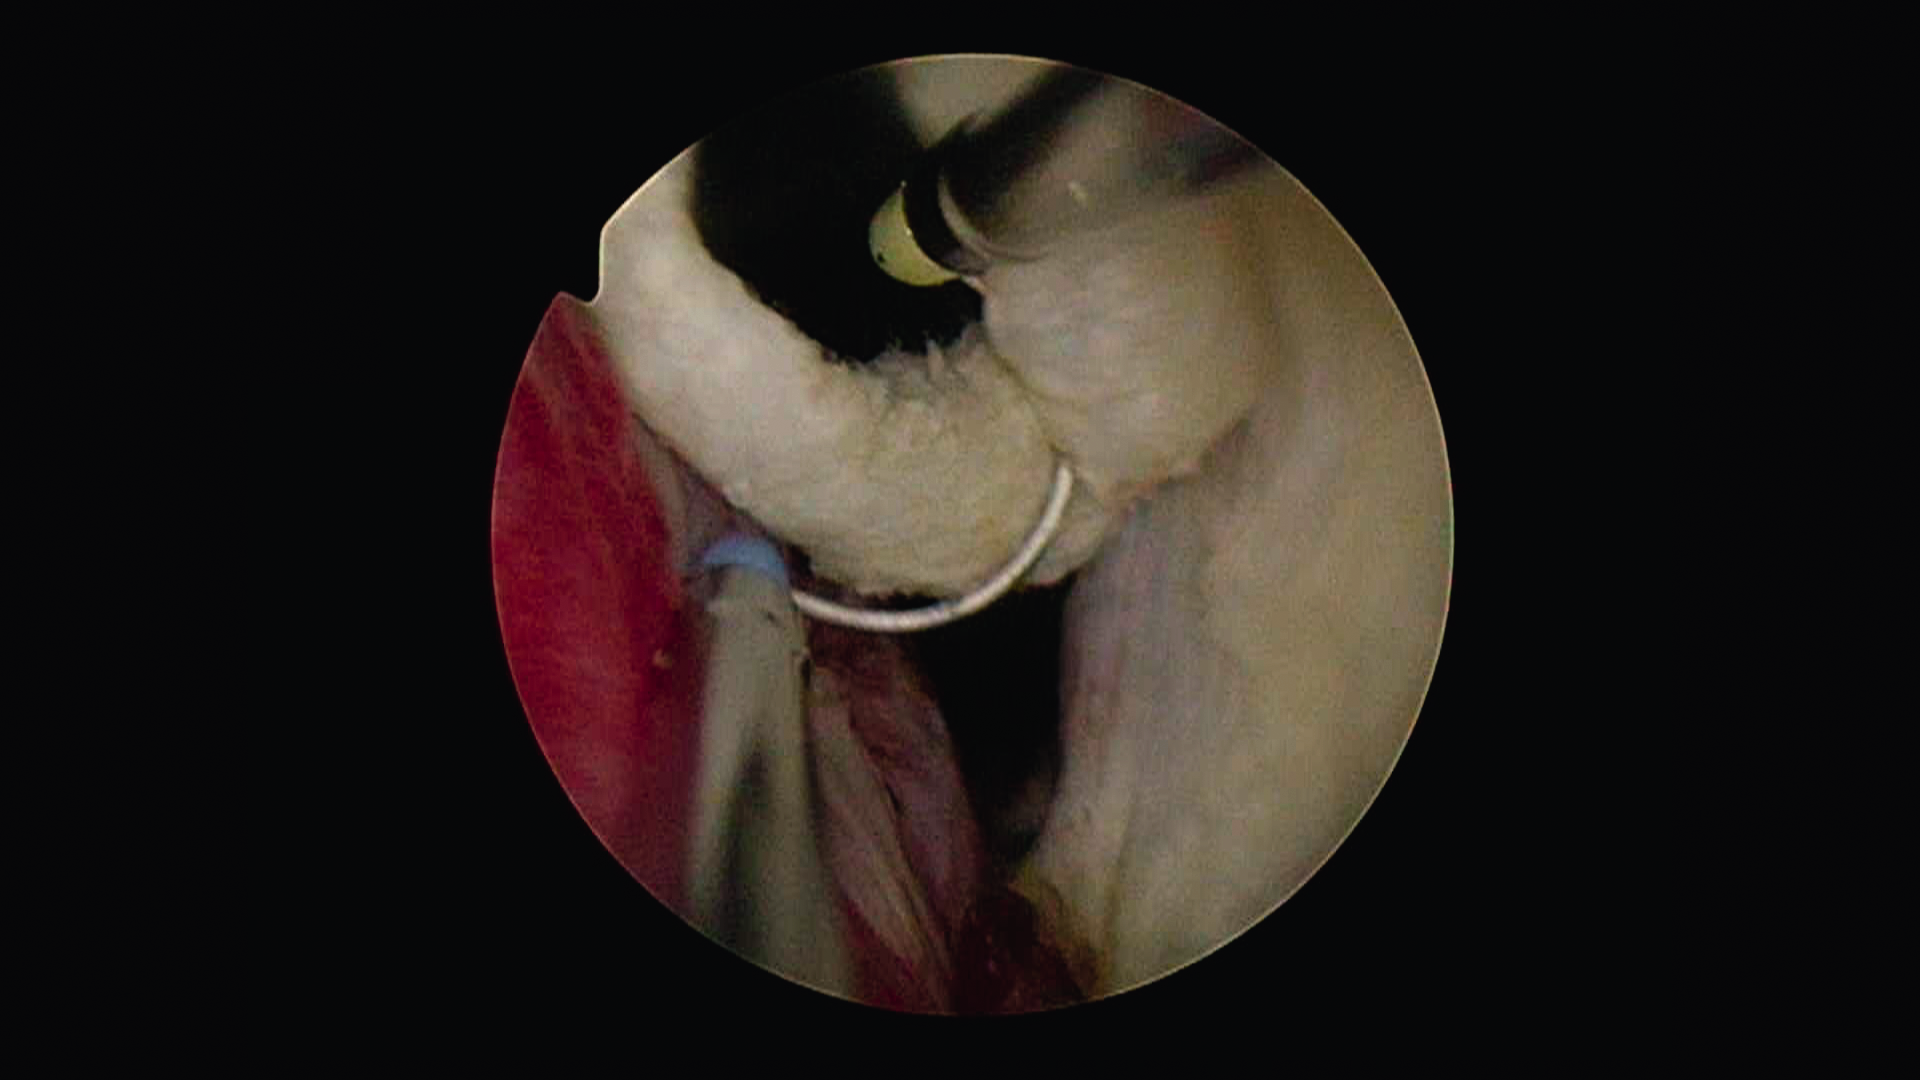
4.2 | Enucleation of the Prostate Lobe
Mechanical separation of the prostate lobe from the capsule.
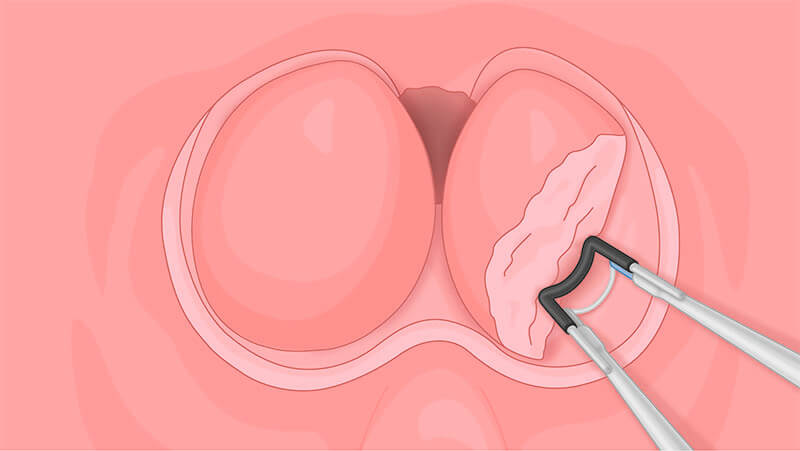
Split and separate the tissue and the capsule step by step, without too much force, in one single push.
Leave a bridge of tissue at the bladder neck at the 5 o’clock position. The enucleated lobe is thus held in position and can swiftly be resected.
A free-floating prostate lobe is very difficult to dissect with a loop electrode. In this case (complete enucleation), the lobes are pushed into the bladder for morcellation.
In most cases vessels are in the 11 and 1 o’clock positions.
If bleeding occurs, use the loop for hemostasis. Put slight pressure on the bleeding without moving backwards and forwards with the loop.
4.3 | Resection of the Prostate Lobe
For partial enucleation, perform PLASMA resection of the enucleated lobe.
Resect the prostatic lobe layer by layer with the loop. There should be little or no bleeding.
Keep the chips very small. Quick, short resections will allow the chips to pass out more easily.
After full resection of the adenoma, resect the tissue bridge without cutting into the prostatic capsule. Regular bleeding can occur at this stage.
Ensure hemostasis is obtained.
Complete Steps steps 4.1 to 4.3 for one lobe before continuing with the other lobe.
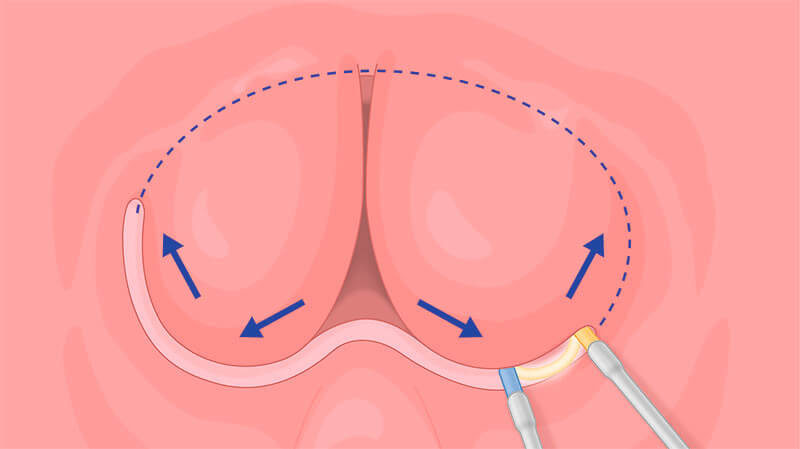
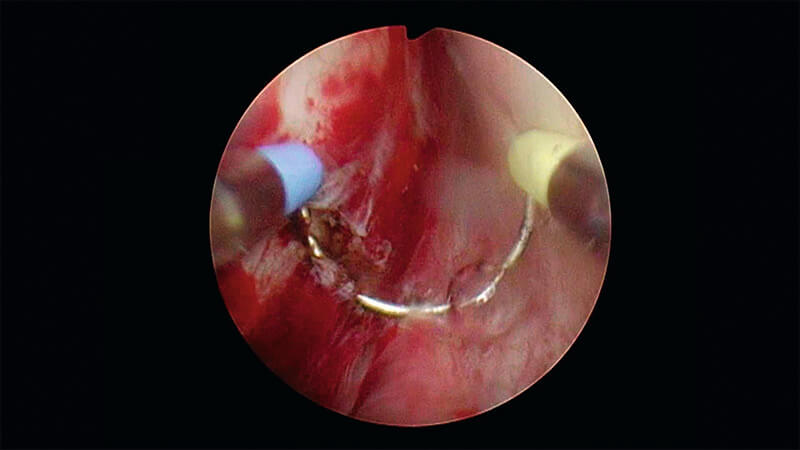
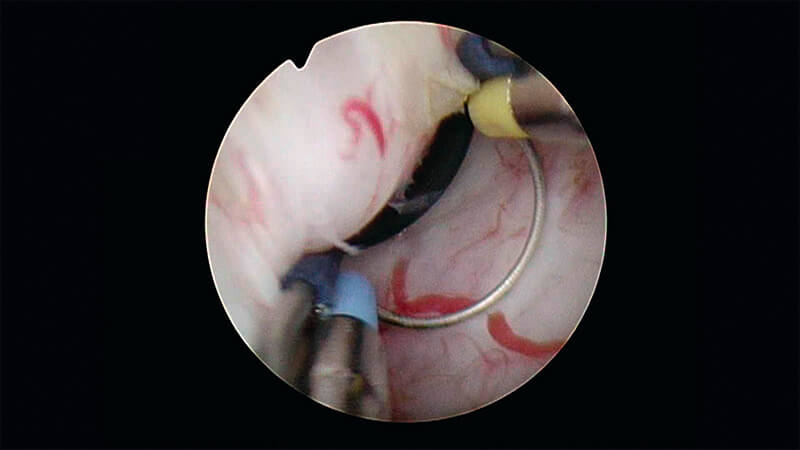
05 | Commissurotomy
Change the TUEB electrode to a regular loop electrode and start resecting to divide the lobes.
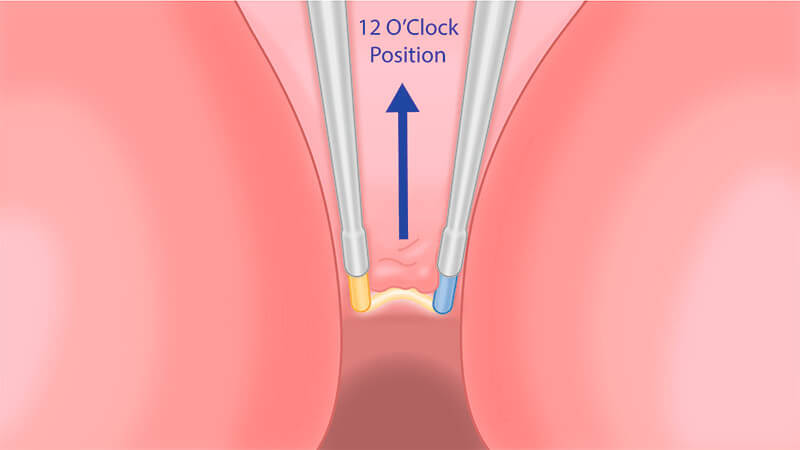
The anterior prostate is now freed except at the bladder neck and a small 12 o’clock connection at the anterior apex.
At the level of the bladder neck, resect the 12 o’clock channel. This channel will divide the lobes so that each can be resected independently.
Position the tip of the outer sheath on the verumontanum to prevent unwanted cutting of the sphincter.
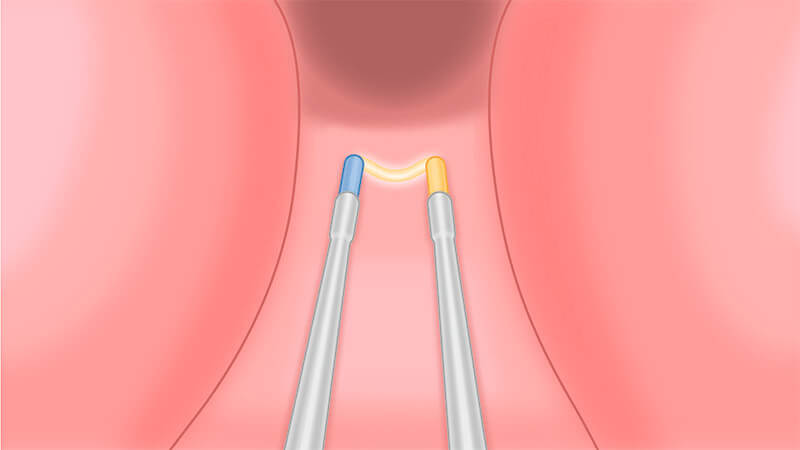
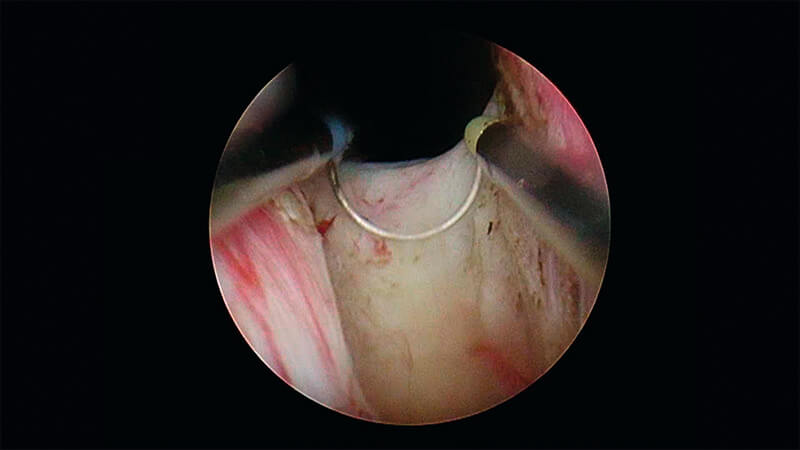
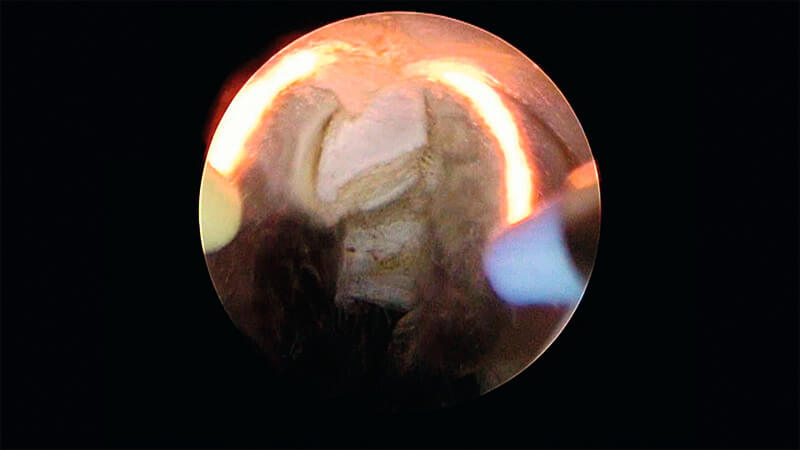
06 | Resection of Apex
PLASMA resection of the apical part of the prostate to ensure optimal flow conditions.

There will be a small amount of tissue at the apex that will remain attached at 12 o’clock.
Resect any residual adenoma at the apex of the prostate.
To prevent incontinence after the intervention, make sure not to cut into the sphincter.
07 | Trimming of the Bladder Neck and Hemostasis
PLASMA resection of the bladder neck to ensure optimal flow conditions.
Resect any residual adenoma at the bladder neck.
Evacuate prostate chips with a bladder syringe.
Ensure secure hemostasis.
Be aware of bleeding and perform spot coagulation where needed. Place the loop with slight pressure on the bleeding, activate coagulation mode, and hold until bleeding has stopped.
- Keyword
- Content Type