Preparation
1) Preparing the Guide Sheath (GS)
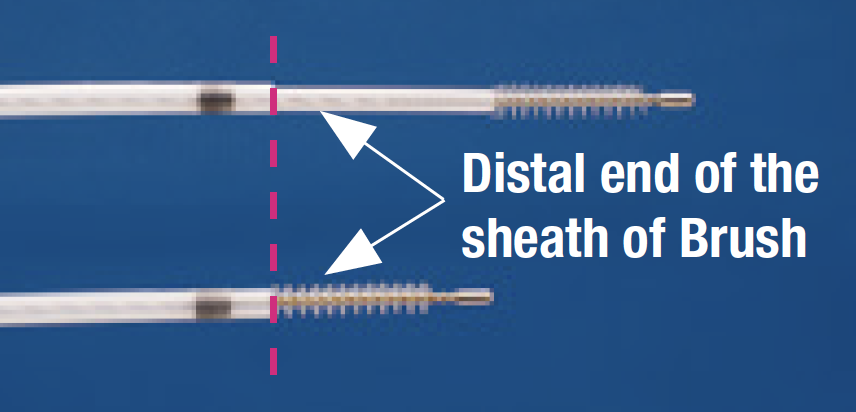
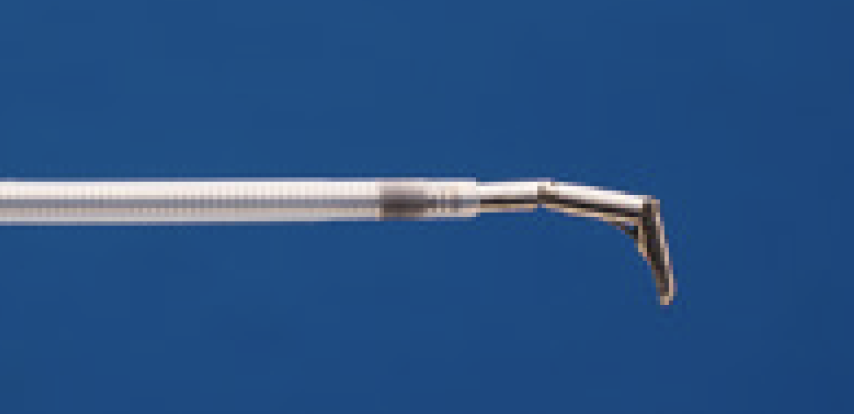
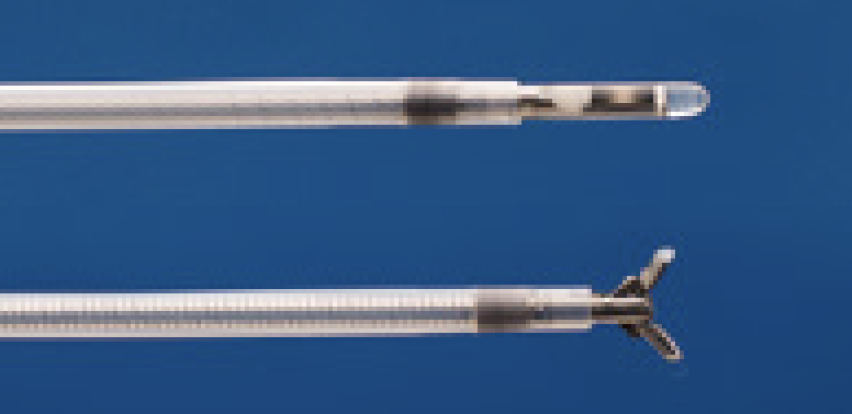
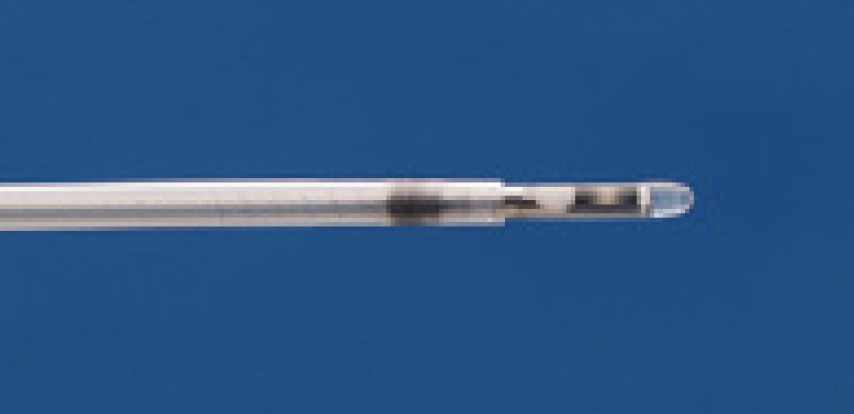
① Insert the cytology brush, the biopsy forceps and the guiding device into the GS and position them as illustrated in <Fig. 1>. Next attach the ET stopper.
② Insert the Radial EBUS probe into the distal end of the GS so that the transducer at the tip of the probe extends from the distal end of the GS. Next, attach the US stopper.
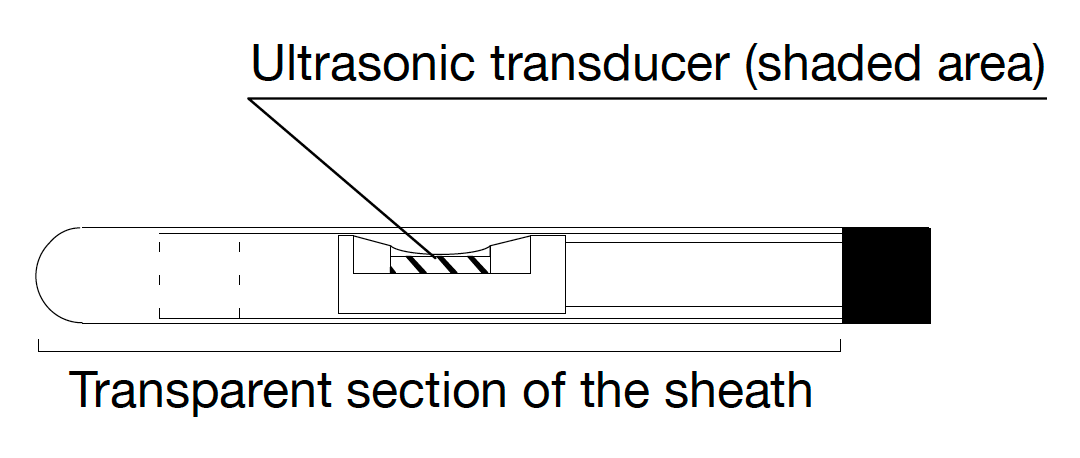
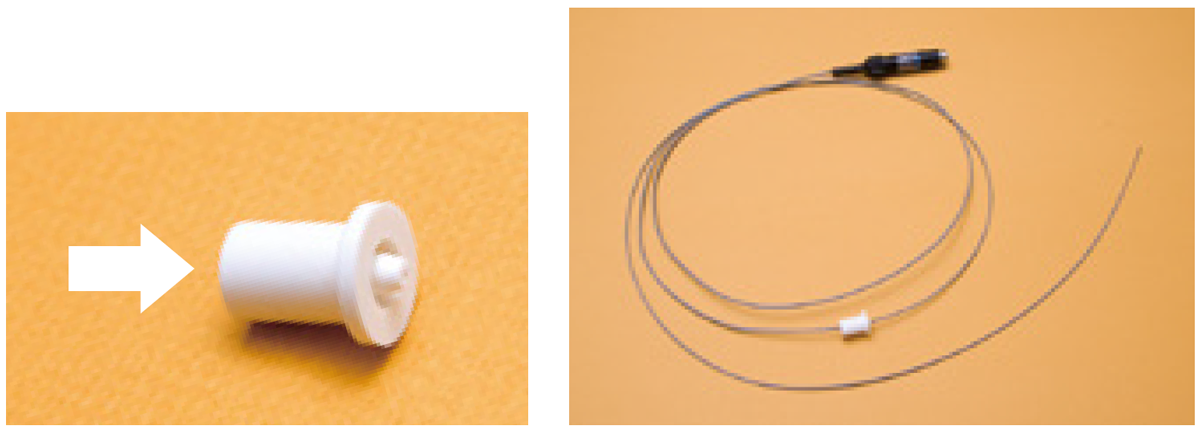
- Use the US stopper for the Radial EBUS probe and insert the probe in the direction of the arrow in <Fig. 3>.
- It may be difficult to insert the Radial EBUS probe into the US stopper, due to resistance. If this occurs, place a piece of absorbent cotton, moistened with a disinfectant (ethanol), along the length of the Radial EBUS probe. This will ease the insertion of the probe.
2) Setting up the ultrasound imaging equipment
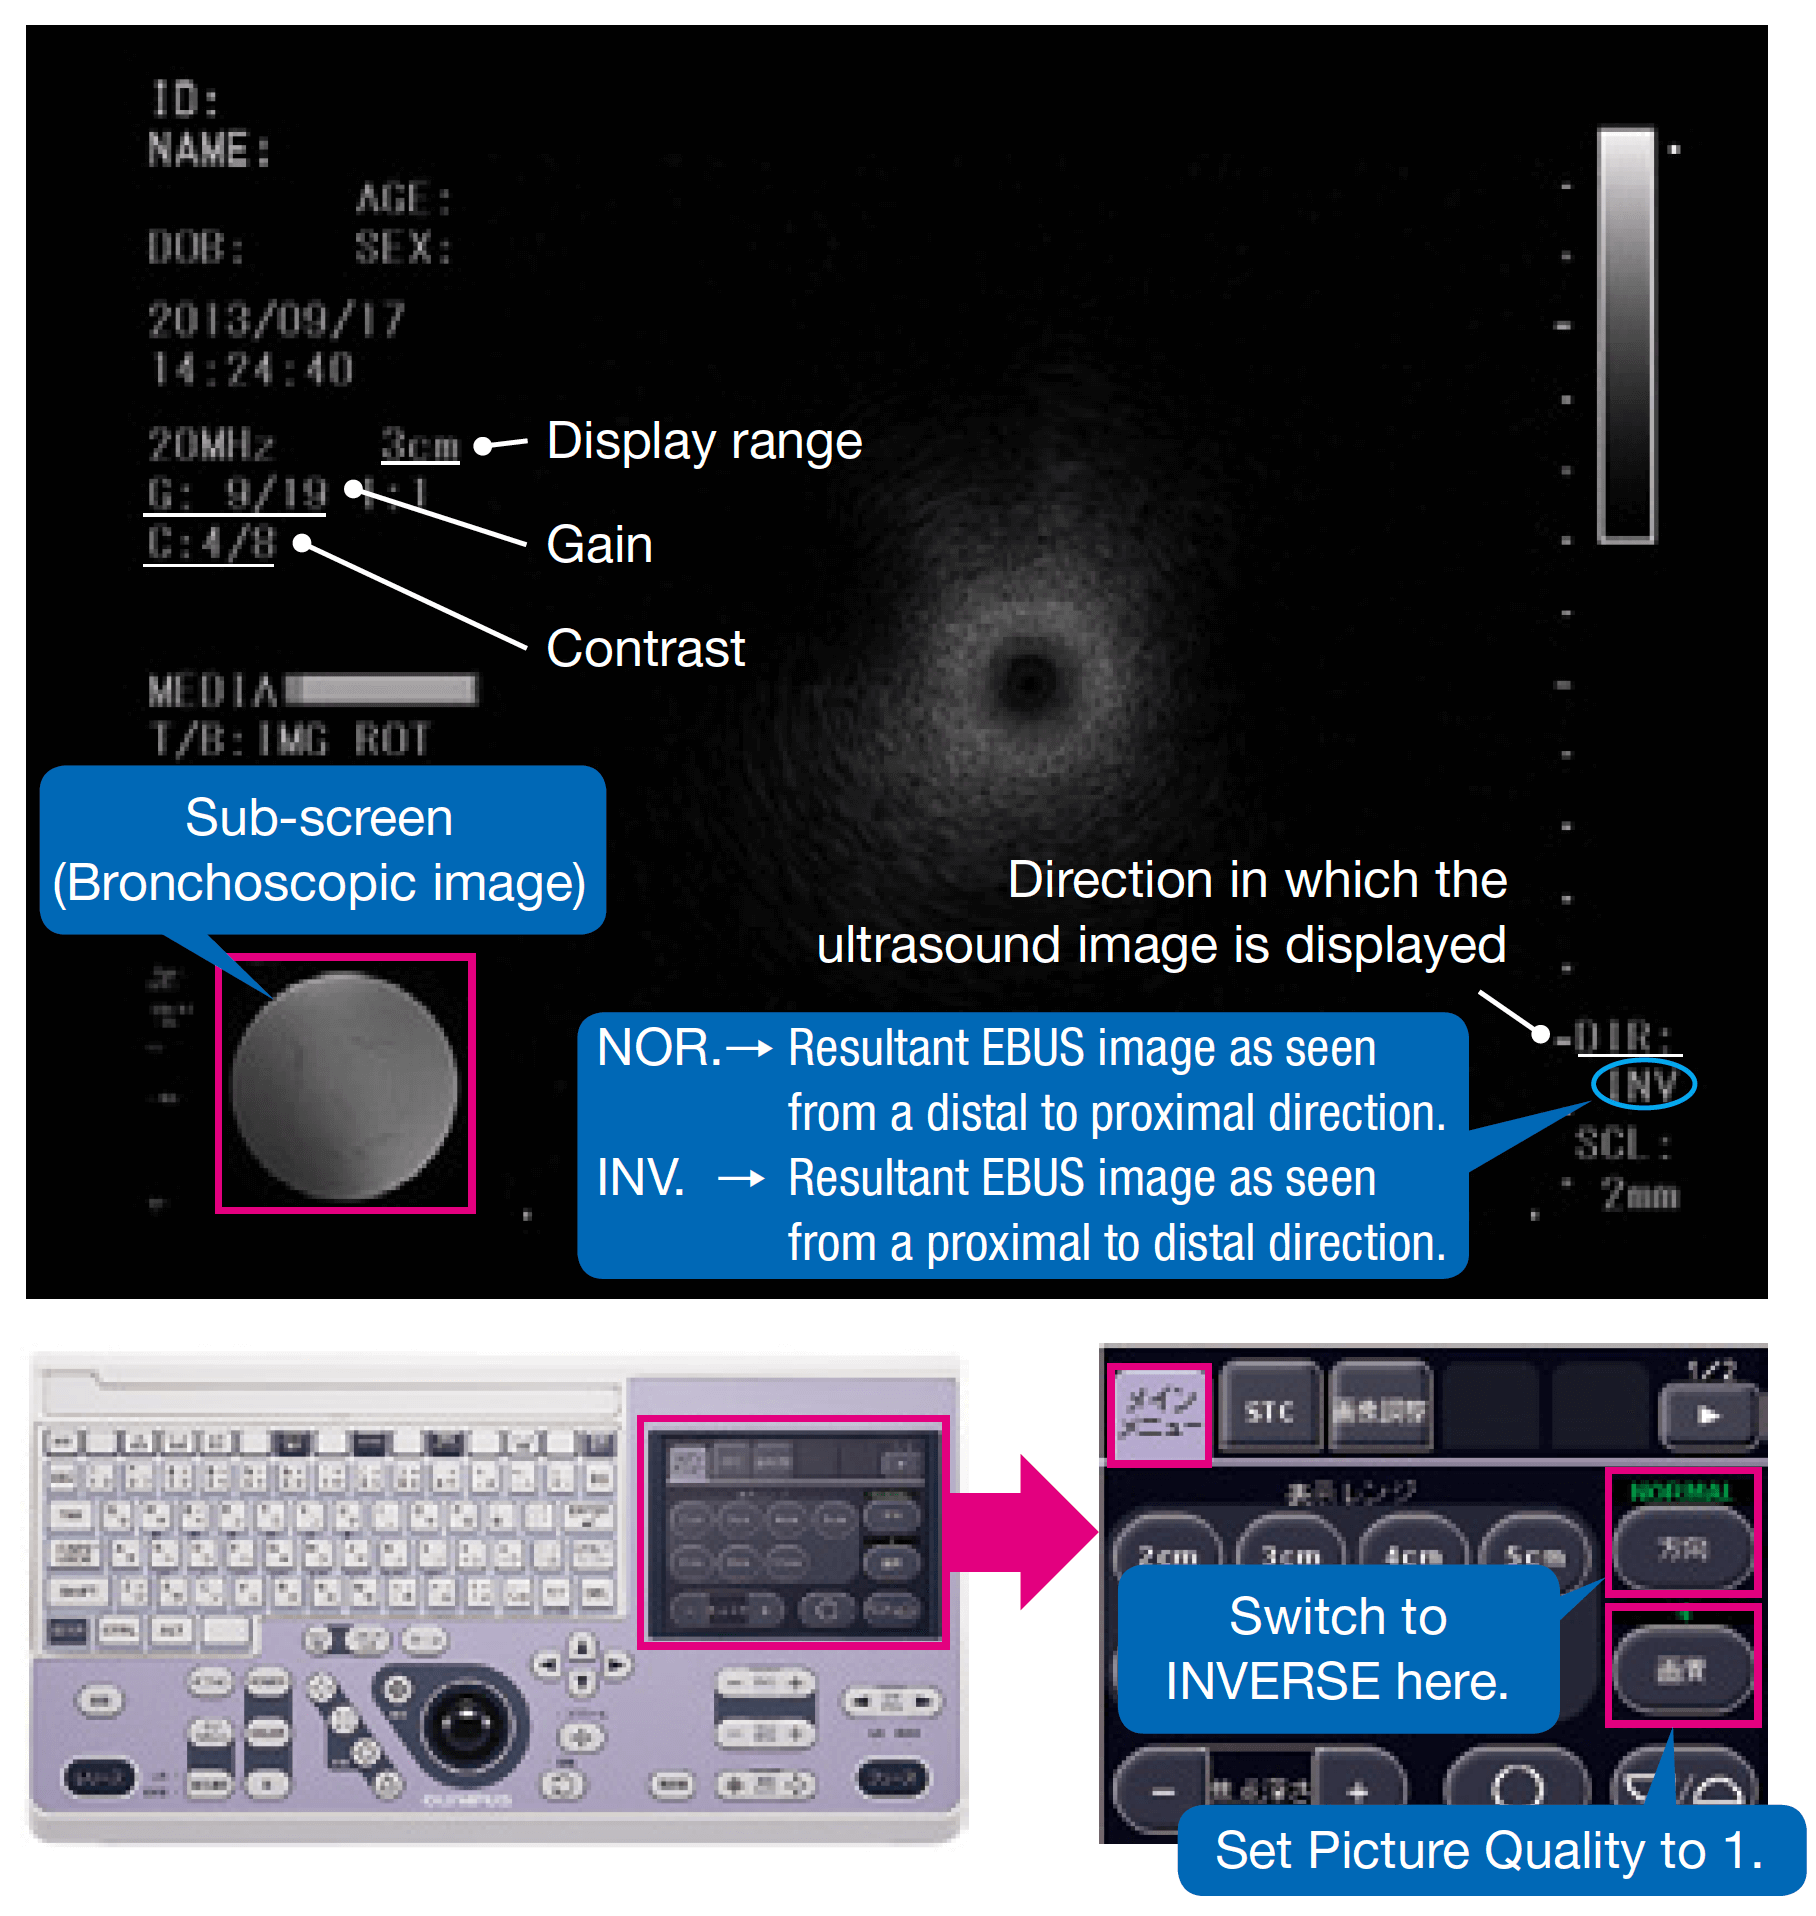
Scan direction INVERSE (INV)
Gain value 9/19
Contrast value 4/8
Picture quality (in EU-ME1) Picture quality 1
- Scan direction NORMAL refers to the image seen from the distal end of the probe towards the proximal section to allow a comparison between the EBUS images and the CT images. Under bronchoscopy, NORMAL should be switched to INVERSE.
(Example: When the EBUS image is seen on the right side of the screen, the lesion is located on the right side.) - It is also important to add a sub-screen on which to check the image of the lumen during bronchoscopy.
3) Connecting Radial EBUS probe
To connect the Radial EBUS probe to the Probe Driving Unit, hold the probe with the connecting pin facing up and insert the probe straight into the Probe Driving Unit <Fig. 4>.
(If the connecting pin is not facing up; there may be difficulty disconnecting the Radial EBUS probe from the Probe Driving Unit) Be sure to turn off the ultrasound imaging equipment when connecting and disconnecting the Radial EBUS probe.

4) Anesthesia
The EBUS-GS procedure can take longer than a regular bronchoscopy. Therefore, sufficient local anesthesia and sedation are needed.
* Reference: Examples of pre-procedure anesthesia, performed at National Cancer Center Hospital are shown below.
| Dr. Takehiro Izumo (National Cancer Center Hospital) | ||
|---|---|---|
| Trachea intubation not required. Procedure performed under local anesthesia with concomitant use of sedatives |
||
| Preliminary medication |
• Pethidine hydrochloride (injection of 35 mg/1 mL of Opystan®) is injected intravenously. Injection quantities are shown below:
|
|
| Local anesthesia |
• Five milliliters of 4% lidocaine is sprayed using a pharyngeal spray to anesthetize the pharyngeal and laryngeal areas. | |
| Sedation |
• Midazolam (Dormicum®) is diluted as follows: 1A (10 mg/2 mL) + 8 mL of saline = A total of 10 mL of dilute midazolam solution. 2-3 mL of the diluted solution will be injected intravenously. Injection quantities are shown below:
|
|
| During bronchoscopy |
• If severe coughing occurs, 1-2 mL of 2% lidocaine is injected through the biopsy port of the bronchoscope, or an additional 1-2 mL of the midazolam solution diluted as shown above is injected intravenously. |
- Content Type