Implantation Procedure
Disclaimer
This procedure guide will take you through the steps required to implant and remove iTind. This technique has been adopted by Mr. Neil Barber of the Frimley Benign Prostate Clinical Research Centre at Frimley Health NHS Foundation Trust (UK).
Olympus as distributor does not practice medicine. Therefore, the information on the products and procedures contained in this document is of a general nature and does not represent medical advice or recommendations. This information does not purport to constitute any diagnostic or therapeutic statement with regard to any individual medical case. Each patient must be examined and advised individually, and this document does not replace the need for such examination and/or advice in whole or in part.
This procedure guide is a voluntary service of Olympus, compiled with the greatest possible care. The guide is not meant to replace the instructions for use. Any user of the iTind must at all times observe all mandatory information for the iTind, in particular contained on the labels and the instructions for use.

Mr. Neil Barber
Consultant Urological Surgeon
Procedure Steps with iTind
00 | Equipment and Patient Preparation
The following is required for the implantation procedure using a rigid cystoscope:
· iTind device.
· Rigid cystoscope with
– min. 19 Fr. sheath (e.g. 19.8 or 22.5 Fr. Olympus sheath).
– 12° or 30° telescope.
· Scissors or scalpel.
· Surgical tape.
Recommended patient preparation for the implantation of iTind (not obligatory):
· Light intravenous sedation / IV Propofol.
· Anesthetic gel.
· Prophylactic antibiotics.
01 | Patient Instrumentation
· Open the pouch and prepare the iTind so that it is ready for deployment.
· Pass the cystoscope into the bladder.
· Fill the bladder with sterile saline.
· Observe the urethra and bladder to rule out any contraindications, such as obstructive median lobe (IPP > 1) or bladder pathology.
· Remove any bladder stones or blood clots, if present.
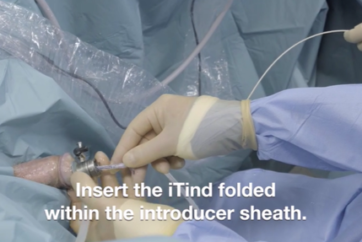
02 | Device Insertion
· Hold the sheath of the rigid cystoscope in the bladder, and withdraw the telescope.
· Insert the iTind, folded within the introducer sheath, into the cystoscope sheath.
· Advance the iTind until you feel the device release into the bladder.
· Withdraw the introducer sheath and set aside.
Troubleshooting — The iTind Does Not Fit into the Cystoscope Sheath
· Make sure the rigid cystoscope is at least 19 Fr.
· Make sure the iTind is fully folded inside the introducer sheath.
03 | Visualization
· Remove the sheath of the rigid cystoscope, ensuring that the iTind remains in the bladder.
· Under vision, reinsert the rigid cystoscope alongside the guidewire into the bladder.
· Advance the rigid cystoscope until the iTind is visualized inside the bladder.
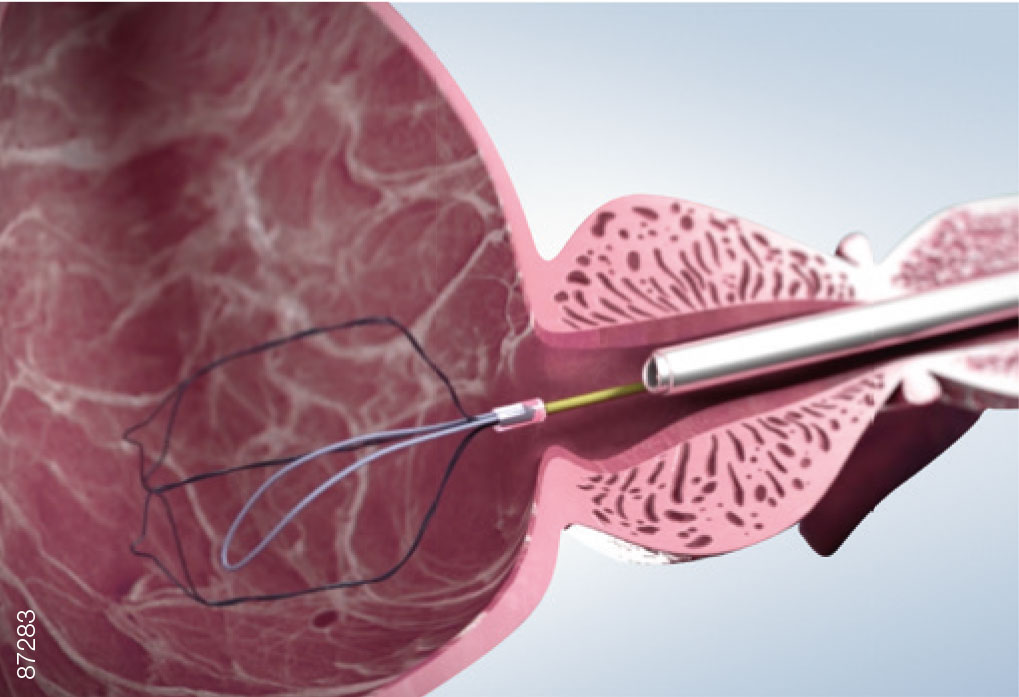
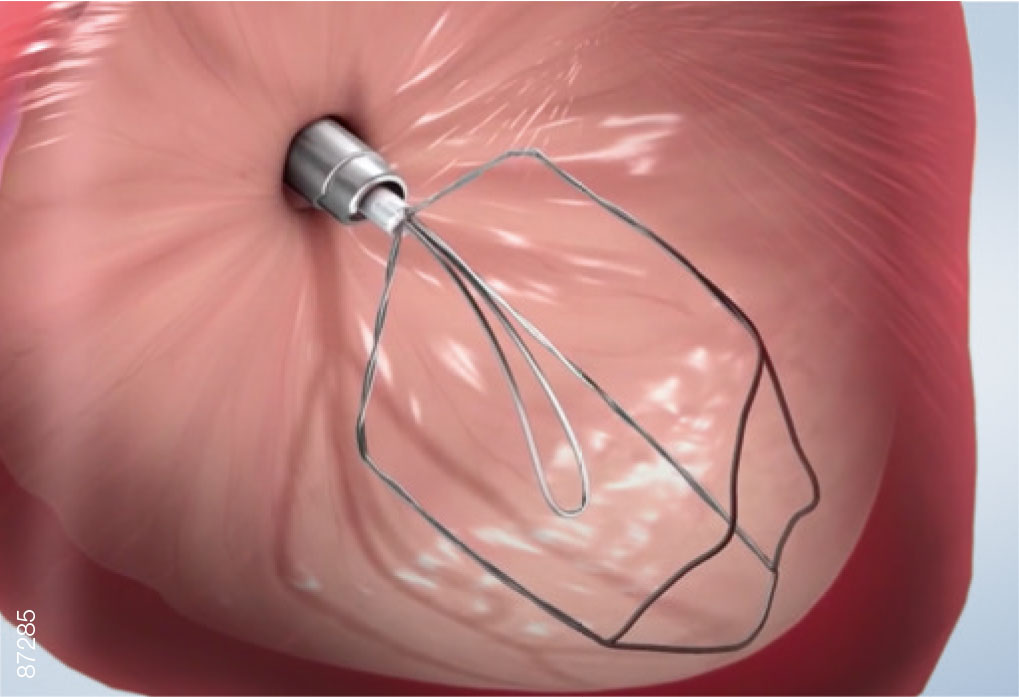
04 | Orientation
· Fill the bladder with saline to enable visibility and easy rotation of the iTind.
· Differentiate between the double intertwined struts and the smooth anchoring leaflet.
· Maneuver the iTind so that the anchoring leaflet is oriented at the 6 o’clock position.
Troubleshooting — The iTind Is Not Clearly Visible Because of Bleeding or Oozing
· Flush the bladder with additional saline.
· Do not attempt to implant the iTind until good visibility has been restored.
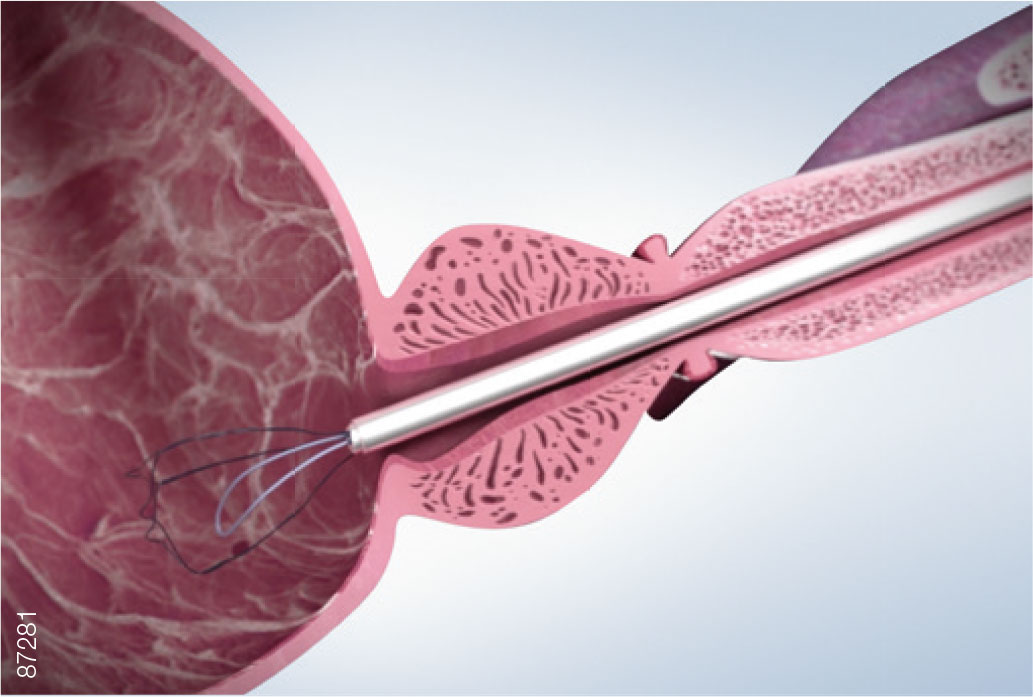
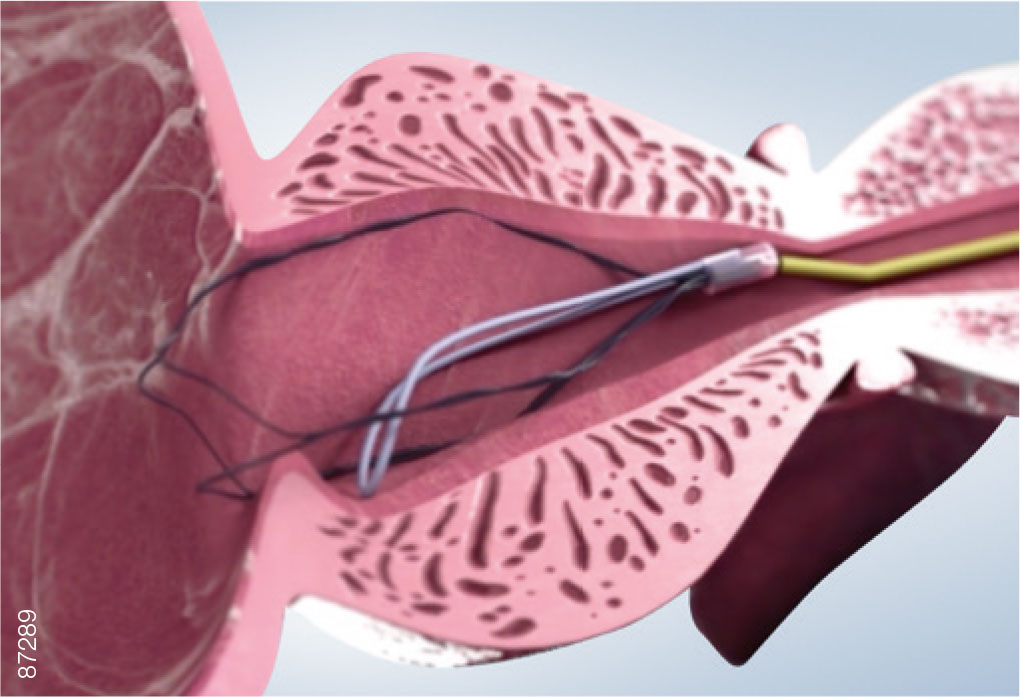
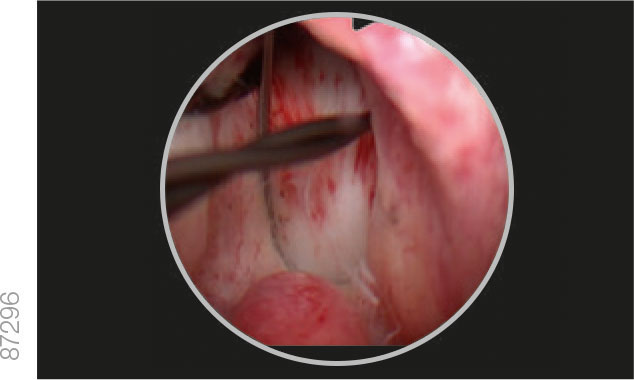
05 | Positioning
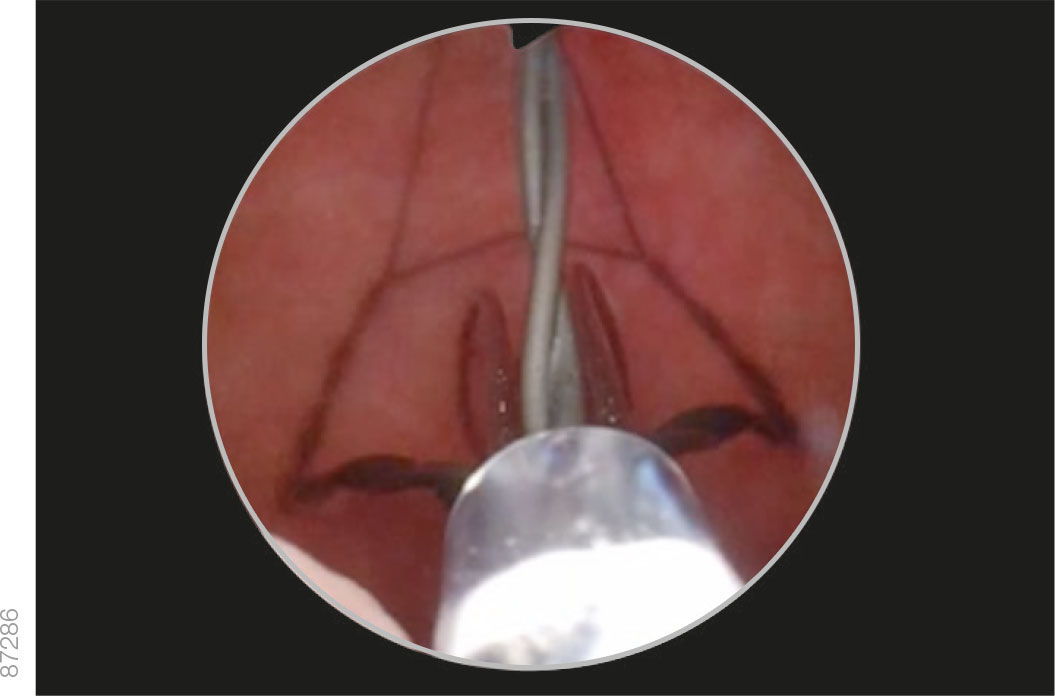
· While holding the device in position, slowly pull the cystoscope back until the bladder neck is visible.
· Pull the iTind back into the prostatic urethra until the anchoring leaflet passes over the bladder neck and falls into the base of the bladder neck, just before the verumontanum.
· Advance the optics toward the bladder neck to ensure that the distal end of the device is protruding slightly into the bladder.
· If needed, use the guidewire to advance the distal end of the device over the bladder neck.
· Ensure that both the anchoring leaflet and distal end are correctly positioned before continuing.

Troubleshooting — Repositioning Is Required
· If the iTind is not correctly positioned and the anchoring leaflet has not yet been pulled over the verumontanum, push the iTind back into the bladder with the aid of the guidewire and restart the positioning.
· If the iTind is not correctly positioned and the anchoring leaflet has been pulled up to or past the verumontanum:
– Remove the rigid cystoscope and telescope.
– Reinsert the cystoscope sheath over the guidewire and re-crimp the iTind into the sheath.
– Push the iTind back into the bladder. Restart the positioning according to the previous procedure steps.
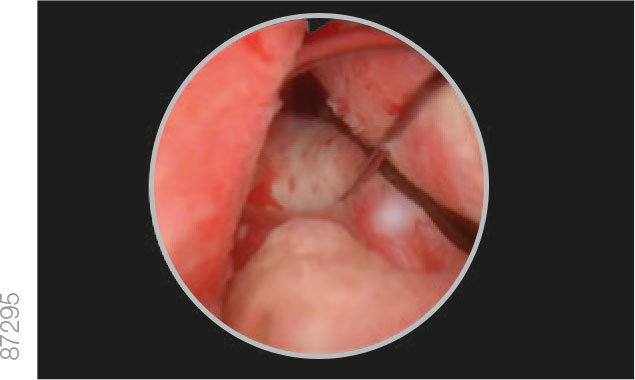
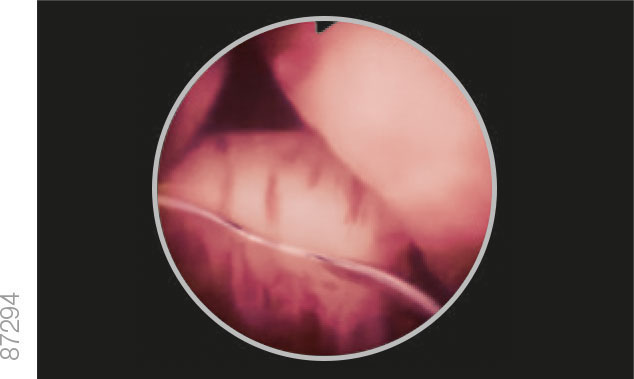
Correct Positioning
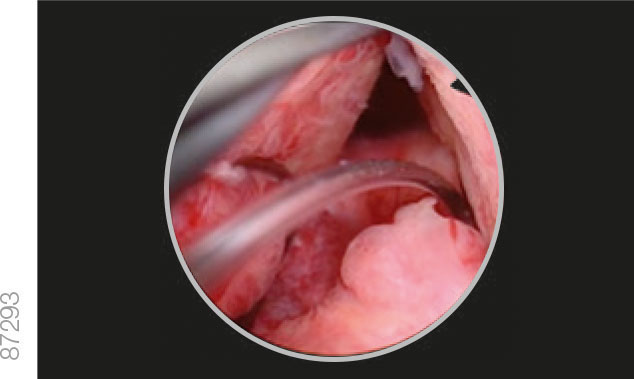
Incorrect Positioning
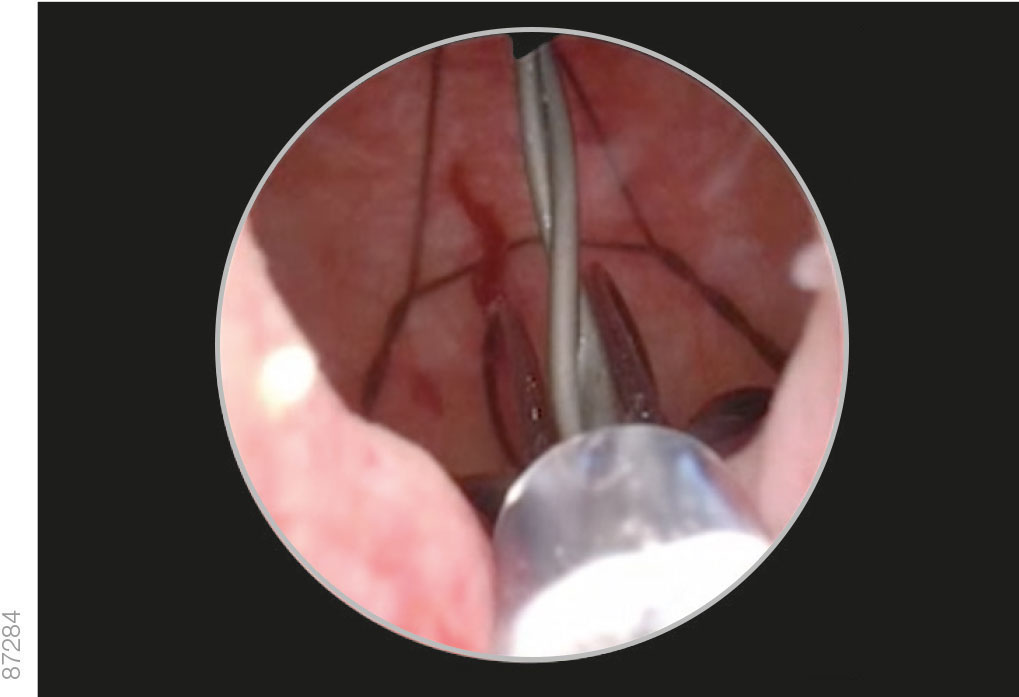
Troubleshooting — The Anchoring Leaflet Cannot Be Seen Sliding Over the Bladder Neck
· Ensure that the iTind and the cystoscope are not being maneuvered together:
– Position the cystoscope so that the camera is as close to the bladder neck as possible. This will ensure that the lateral lobes do not obstruct the view.
– Maintain the position of the cystoscope with one hand while pulling the iTind back into the prostatic urethra with the other hand until the anchoring leaflet can be seen gliding over the bladder neck.
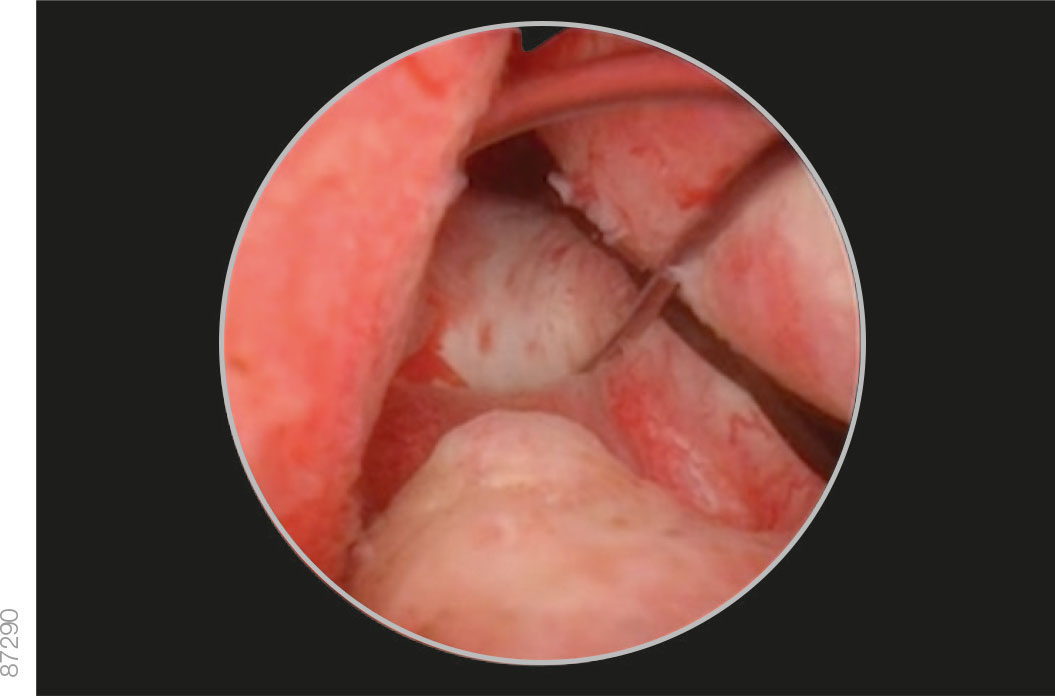
Troubleshooting — No Clear Differentiation between the Bladder Neck and Verumontanum OR Asymmetrical Prostate
· Ensure the anchoring leaflet is positioned as snugly as possible over the bladder neck, while maintaining the positioning of the struts at the bladder neck.
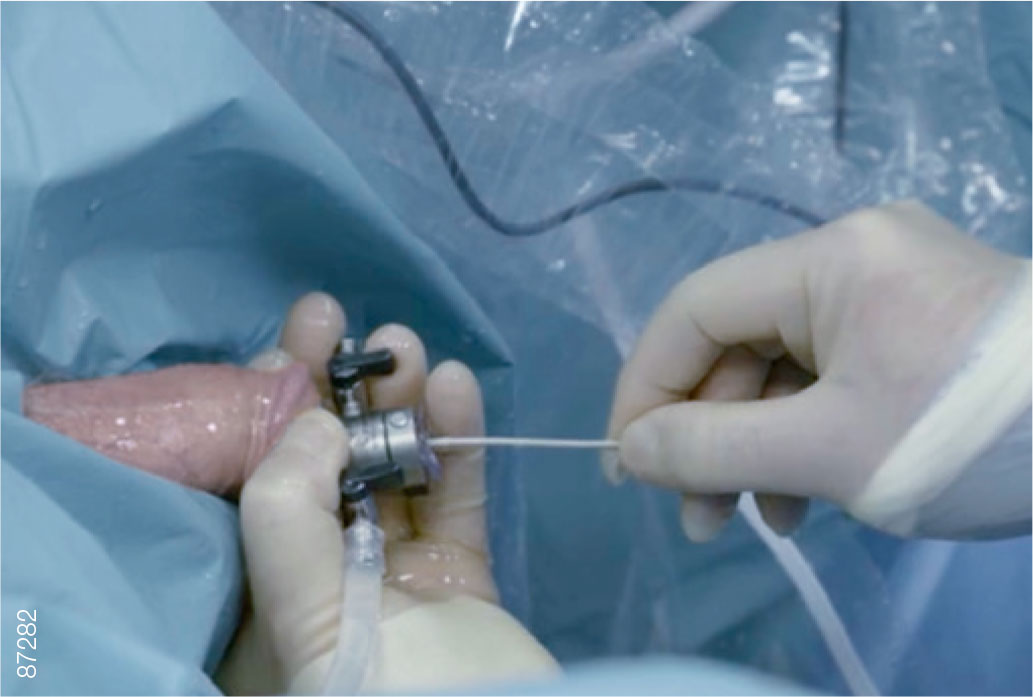
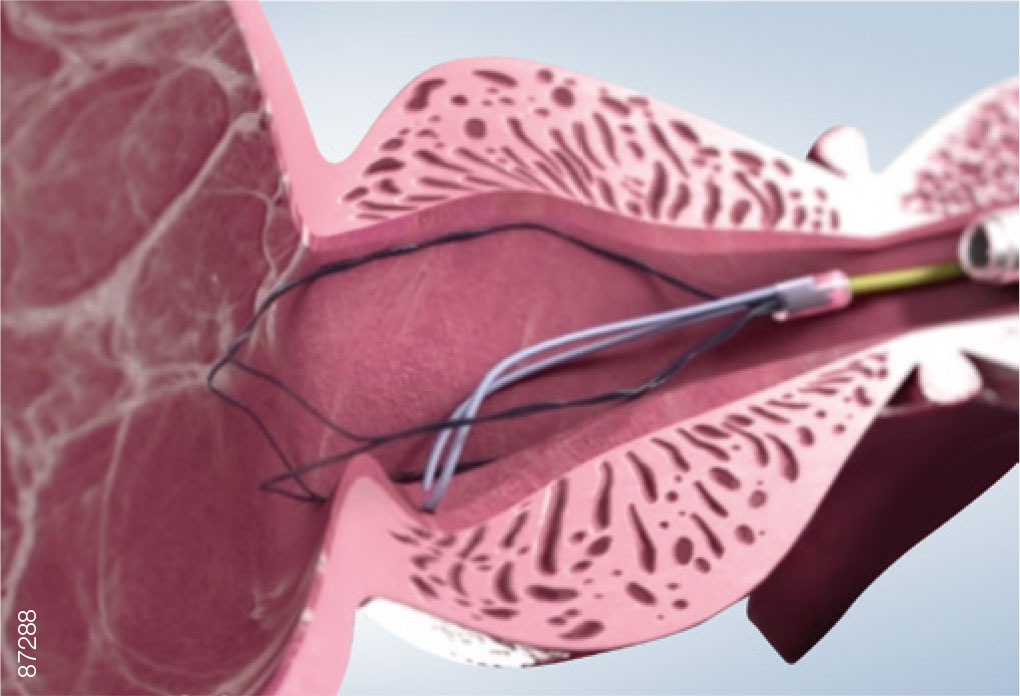
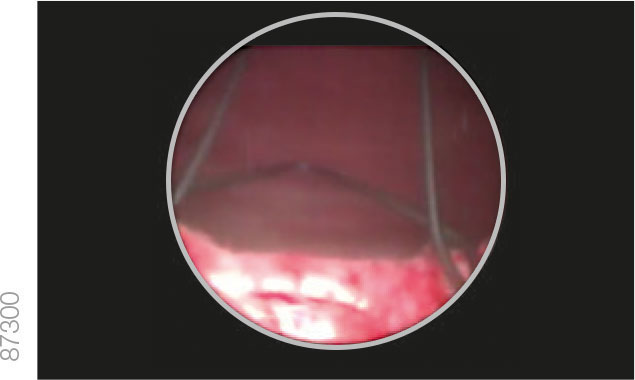
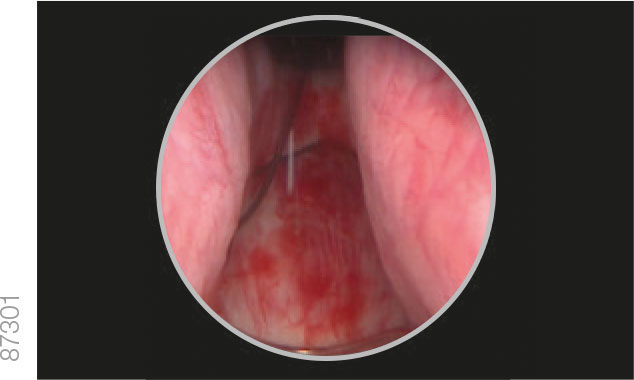
06 | Deployment
· Empty the bladder through the cystoscope sheath.
· Withdraw the cystoscope until the external sphincter is visible and ensure that it is not being held open by the device.
· Loosen the slipknot at the proximal end of the guidewire and slide it off, exposing the retrieval suture.
· Remove the cystoscope from the urethra.
Troubleshooting — The iTind Guidewire Cannot Be Released
· Cut the proximal end of the guidewire with scissors.
· If the problem remains, use a new device.

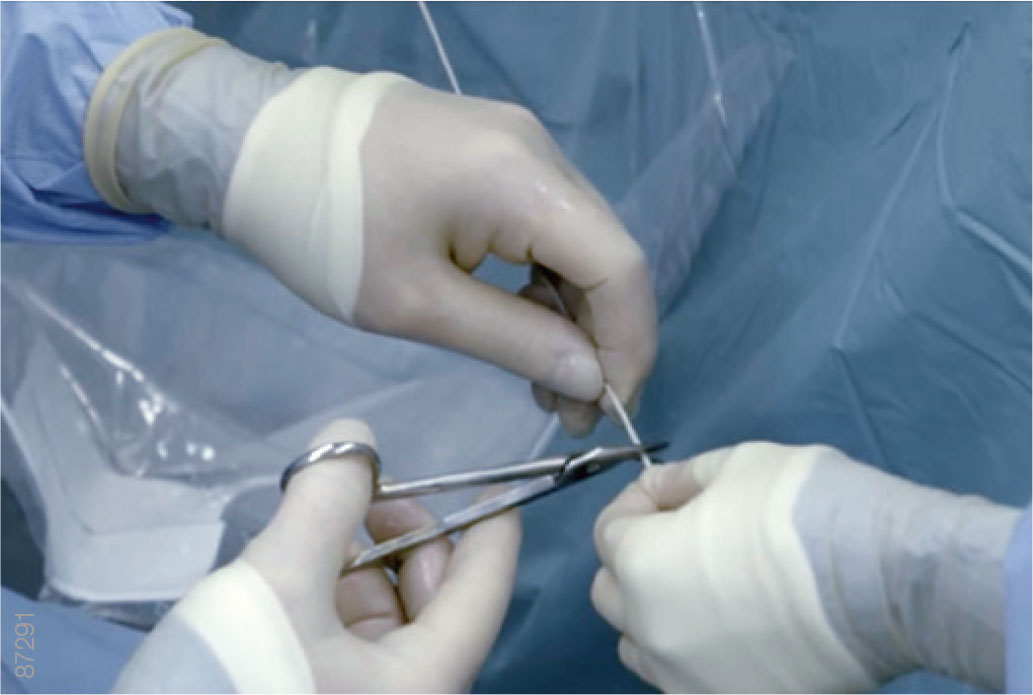
07 | Dressing
· Loop the retrieval suture and loosely fasten it to the patient’s penis with surgical tape.
· Leave enough slack to allow for an erection and to minimize irritation of the meatus while the device is in situ.
· Instruct the patient not to pull, cut or damage the retrieval suture during the implantation period (5-7 days).
08 | Patient Discharge
· Patients should be discharged only after a successful voiding trial.
Troubleshooting — The Patient Cannot Void
Empty the bladder through a 12 Fr. Tiemann or Foley catheter:
– When inserting the catheter, be sure to hold the suture very taught to avoid displacing the iTind.
– The catheter can typically be removed either directly after emptying the bladder or left for a few hours until another voiding trial is performed.
– If a catheter was placed, it is recommended to perform an abdominal ultrasound to verify that the iTind was not displaced during the catheterization.