Preparation
1) Preparing the Guide Sheath (GS)
For the latest products and instructions for use, please refer to the GuideSheath Kit 2 Quick Reference Guide.
GuideSheath Kit 2 Quick Reference Guide
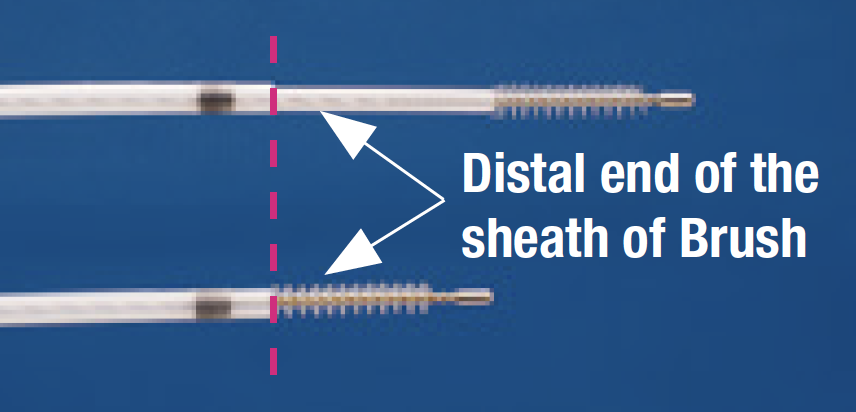
① Insert the cytology brush, the biopsy forceps and the guiding device into the GS and position them as illustrated in <Fig. 1>. Next attach the ET stopper.
② Insert the Radial EBUS probe into the distal end of the GS so that the transducer at the tip of the probe extends from the distal end of the GS. Next, attach the US stopper.
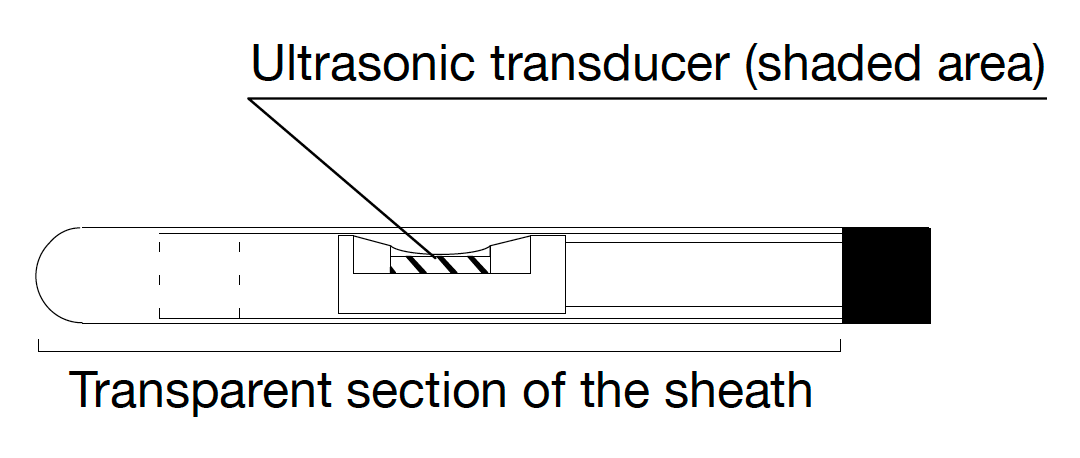
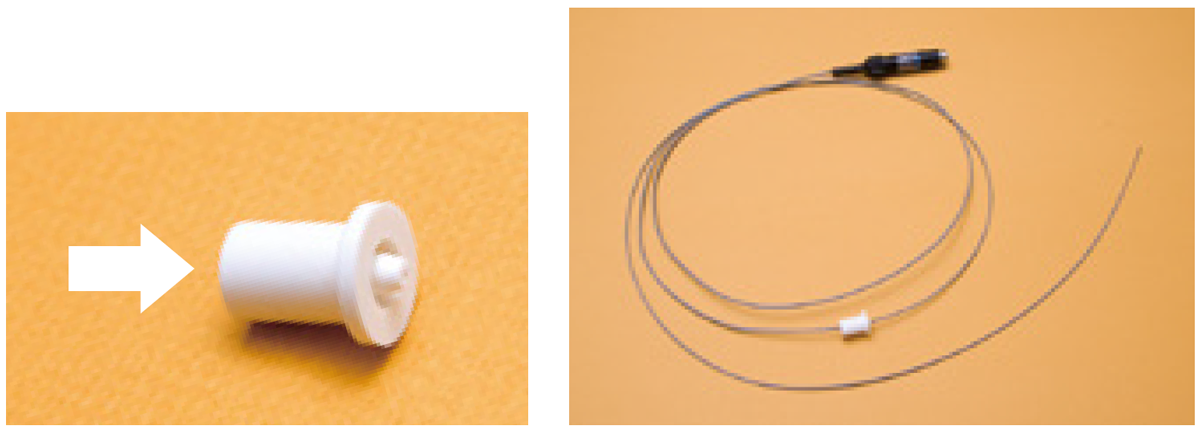
- Use the US stopper for the Radial EBUS probe and insert the probe in the direction of the arrow in <Fig. 3>.
- It may be difficult to insert the Radial EBUS probe into the US stopper, due to resistance. If this occurs, place a piece of absorbent cotton, moistened with a disinfectant (ethanol), along the length of the Radial EBUS probe. This will ease the insertion of the probe.
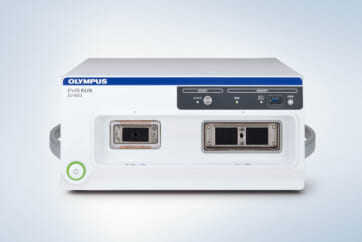
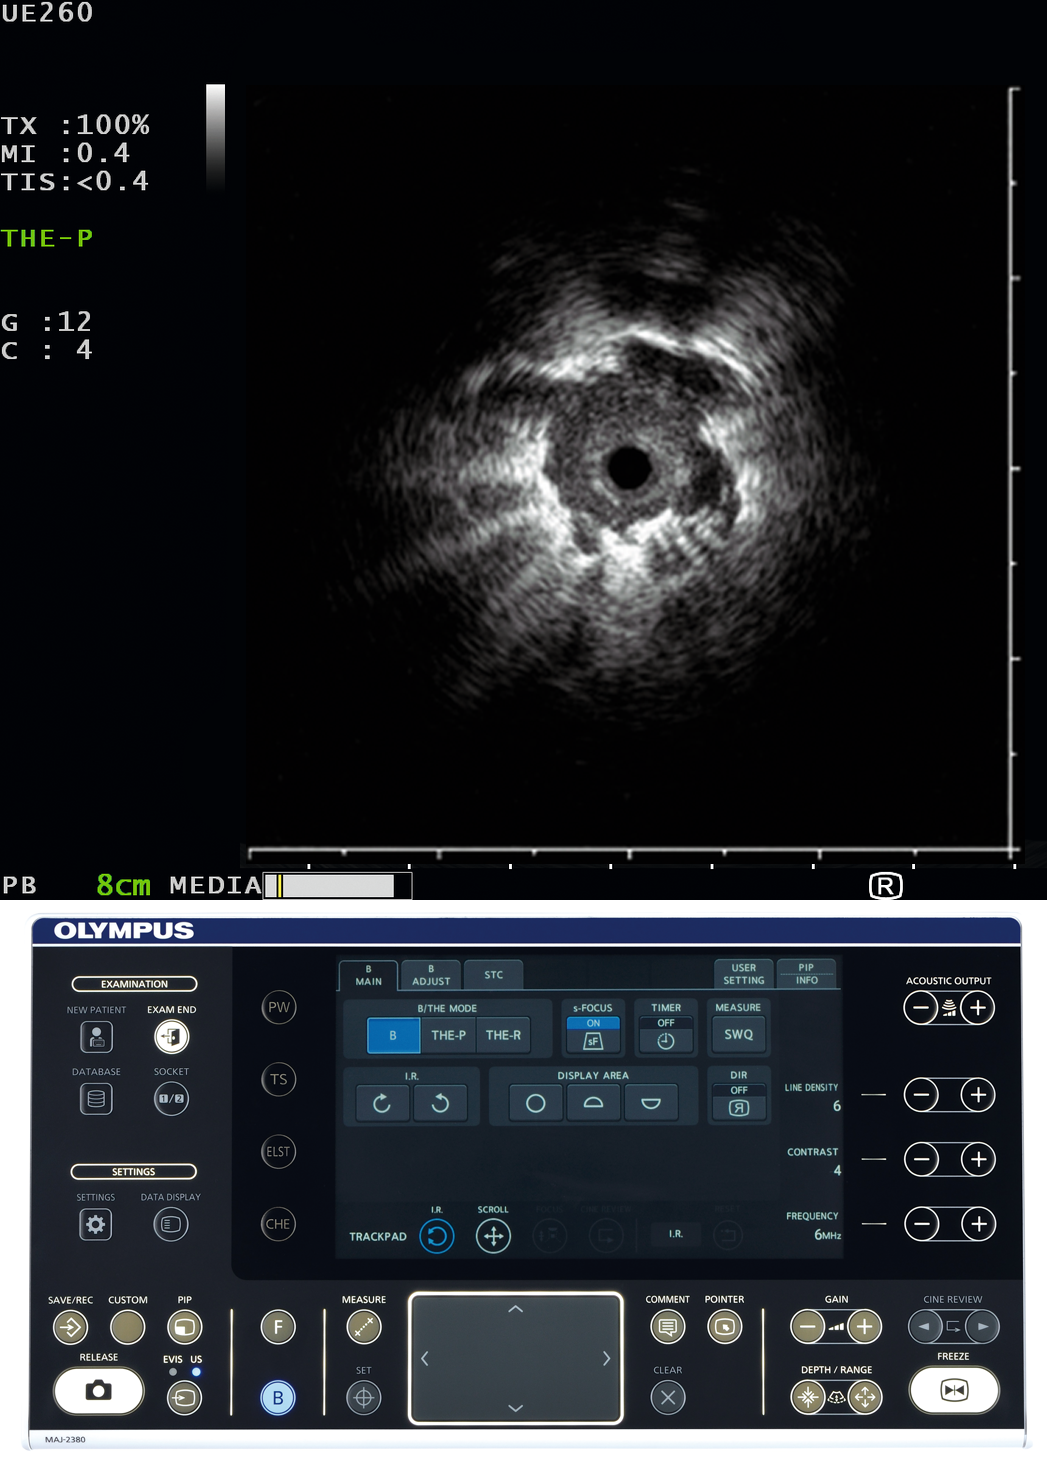
For the latest product and instruction for use, please refer to the EU-ME3 Quick Reference Guide below.
Ultrasound settings, such as contrast and gain, can viewed in the Quick Reference Guide.
2) Connecting Radial EBUS probe
To connect the Radial EBUS probe to the Probe Driving Unit, hold the probe with the connecting pin facing up and insert the probe straight into the Probe Driving Unit <Fig. 4>.
(If the connecting pin is not facing up; there may be difficulty disconnecting the Radial EBUS probe from the Probe Driving Unit) Be sure to turn off the ultrasound imaging equipment when connecting and disconnecting the Radial EBUS probe.

- Content Type