Handling Radial EBUS probe
There may be instances when an EBUS image cannot be obtained despite the probe being connected to the imaging system and the ultrasonic transducer turned on <Fig. 22>. This may be caused by a breakage in the probe or by air bubbles left in the probe. The method for removing air bubbles is shown below:
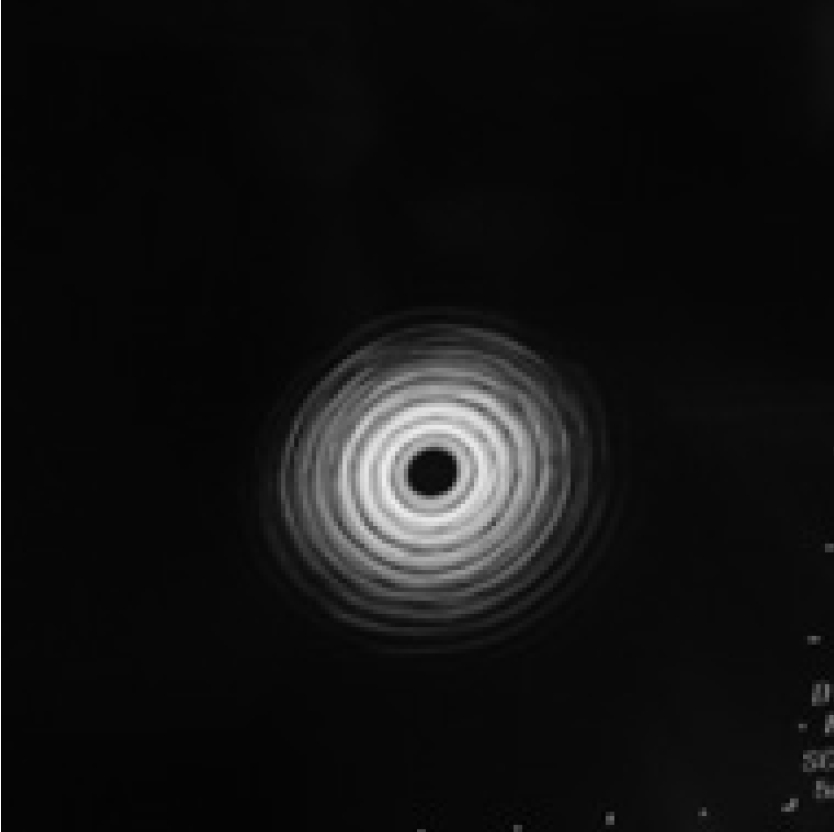
<Fig. 22>

1) Removing air bubbles from the Radial EBUS probe
Check that there are no air bubbles in the transparent section of the probe. If air bubbles are present around the transducer <Fig. 23>, removing the air bubbles can improve the EBUS image quality.
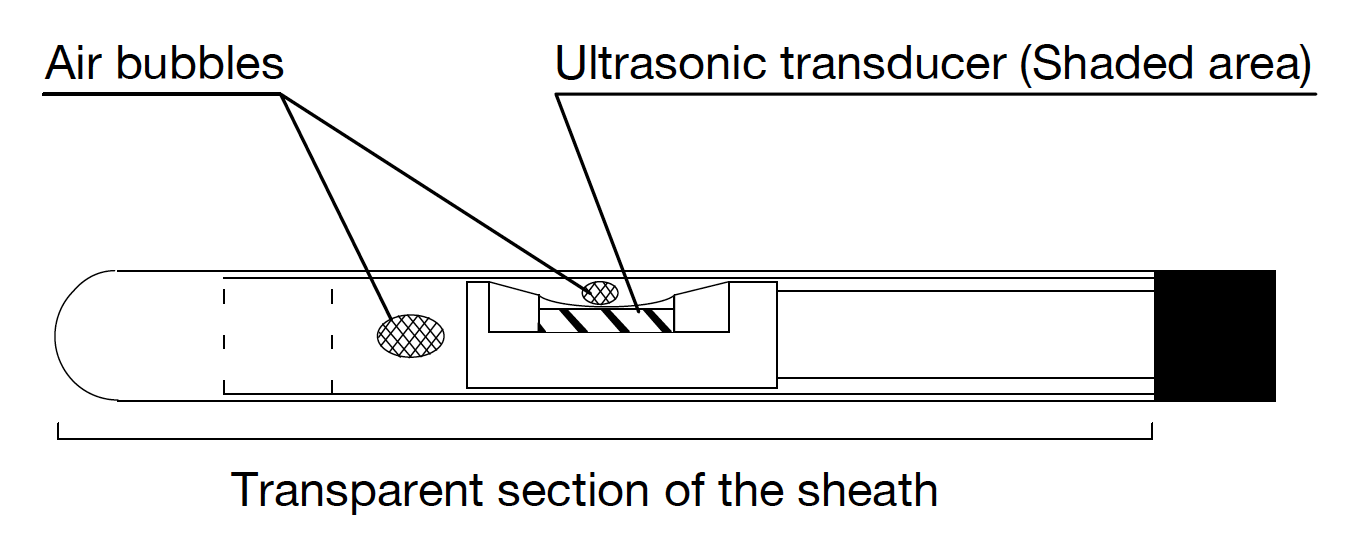
Removing air bubbles
Hold the probe 5 cm away from the tip. With the probe tip facing down, and protected by the index finger, shake the probe vigorously until all of the air bubbles disappear from the transparent section of the probe <Fig. 24>. Connect the Radial EBUS probe again and check to see that the EBUS image has been restored to its original round shape.

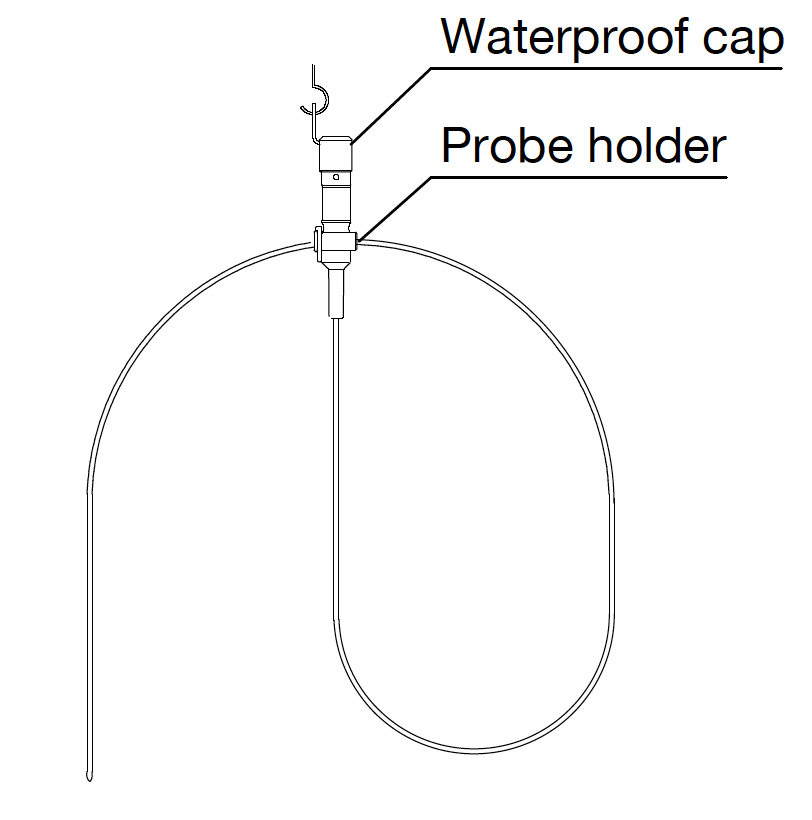
2) Storing the Radial EBUS probe
Store the Radial EBUS probe with the probe tip facing down as shown in <Fig. 25>. This will help prevent air bubbles from entering the periphery of the transducer.
- Content Type