Actual EBUS-GS Procedures
Note: If the lesion has a significant ground glass component, do not inject saline. Injecting saline can obscure the EBUS image of the lesion.
1) Leading the Guide Sheath to the targeted lesion
To access the lesion, insert the Radial EBUS probe into the GS and advance it into the bronchial tract. Lesion location should be determined by plain chest radiograph, fluoroscopy, CT and virtual bronchoscopy.
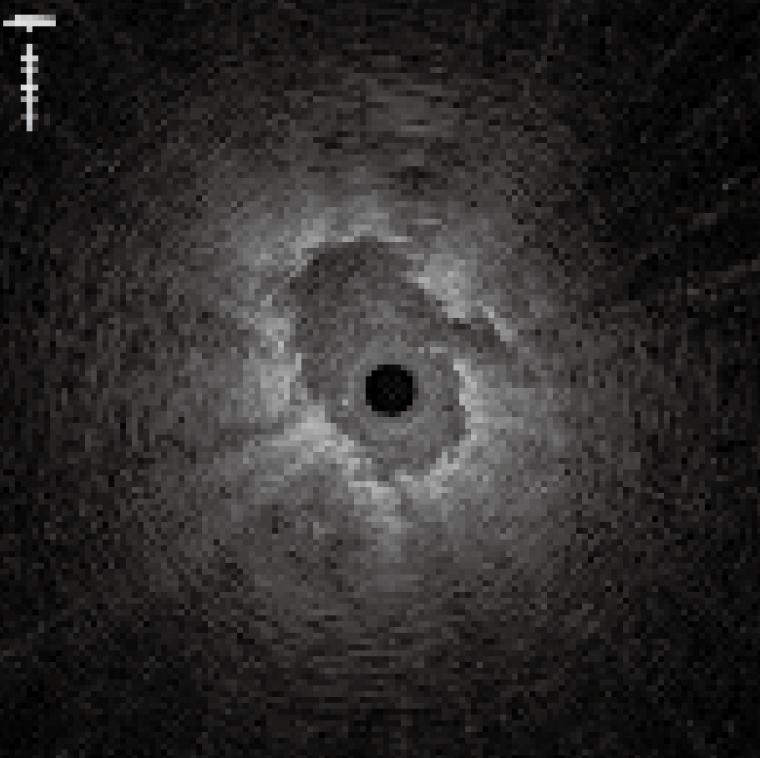
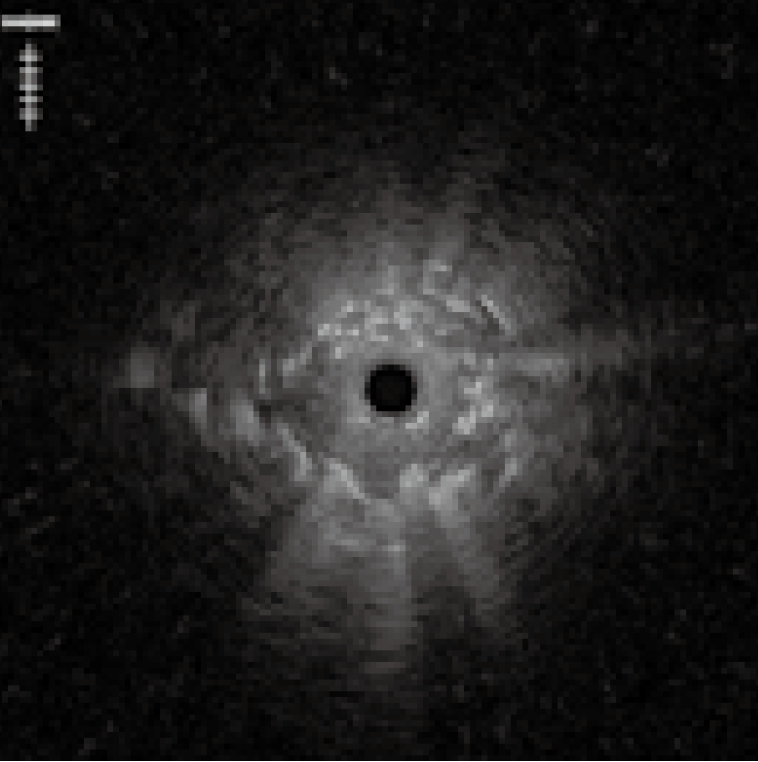
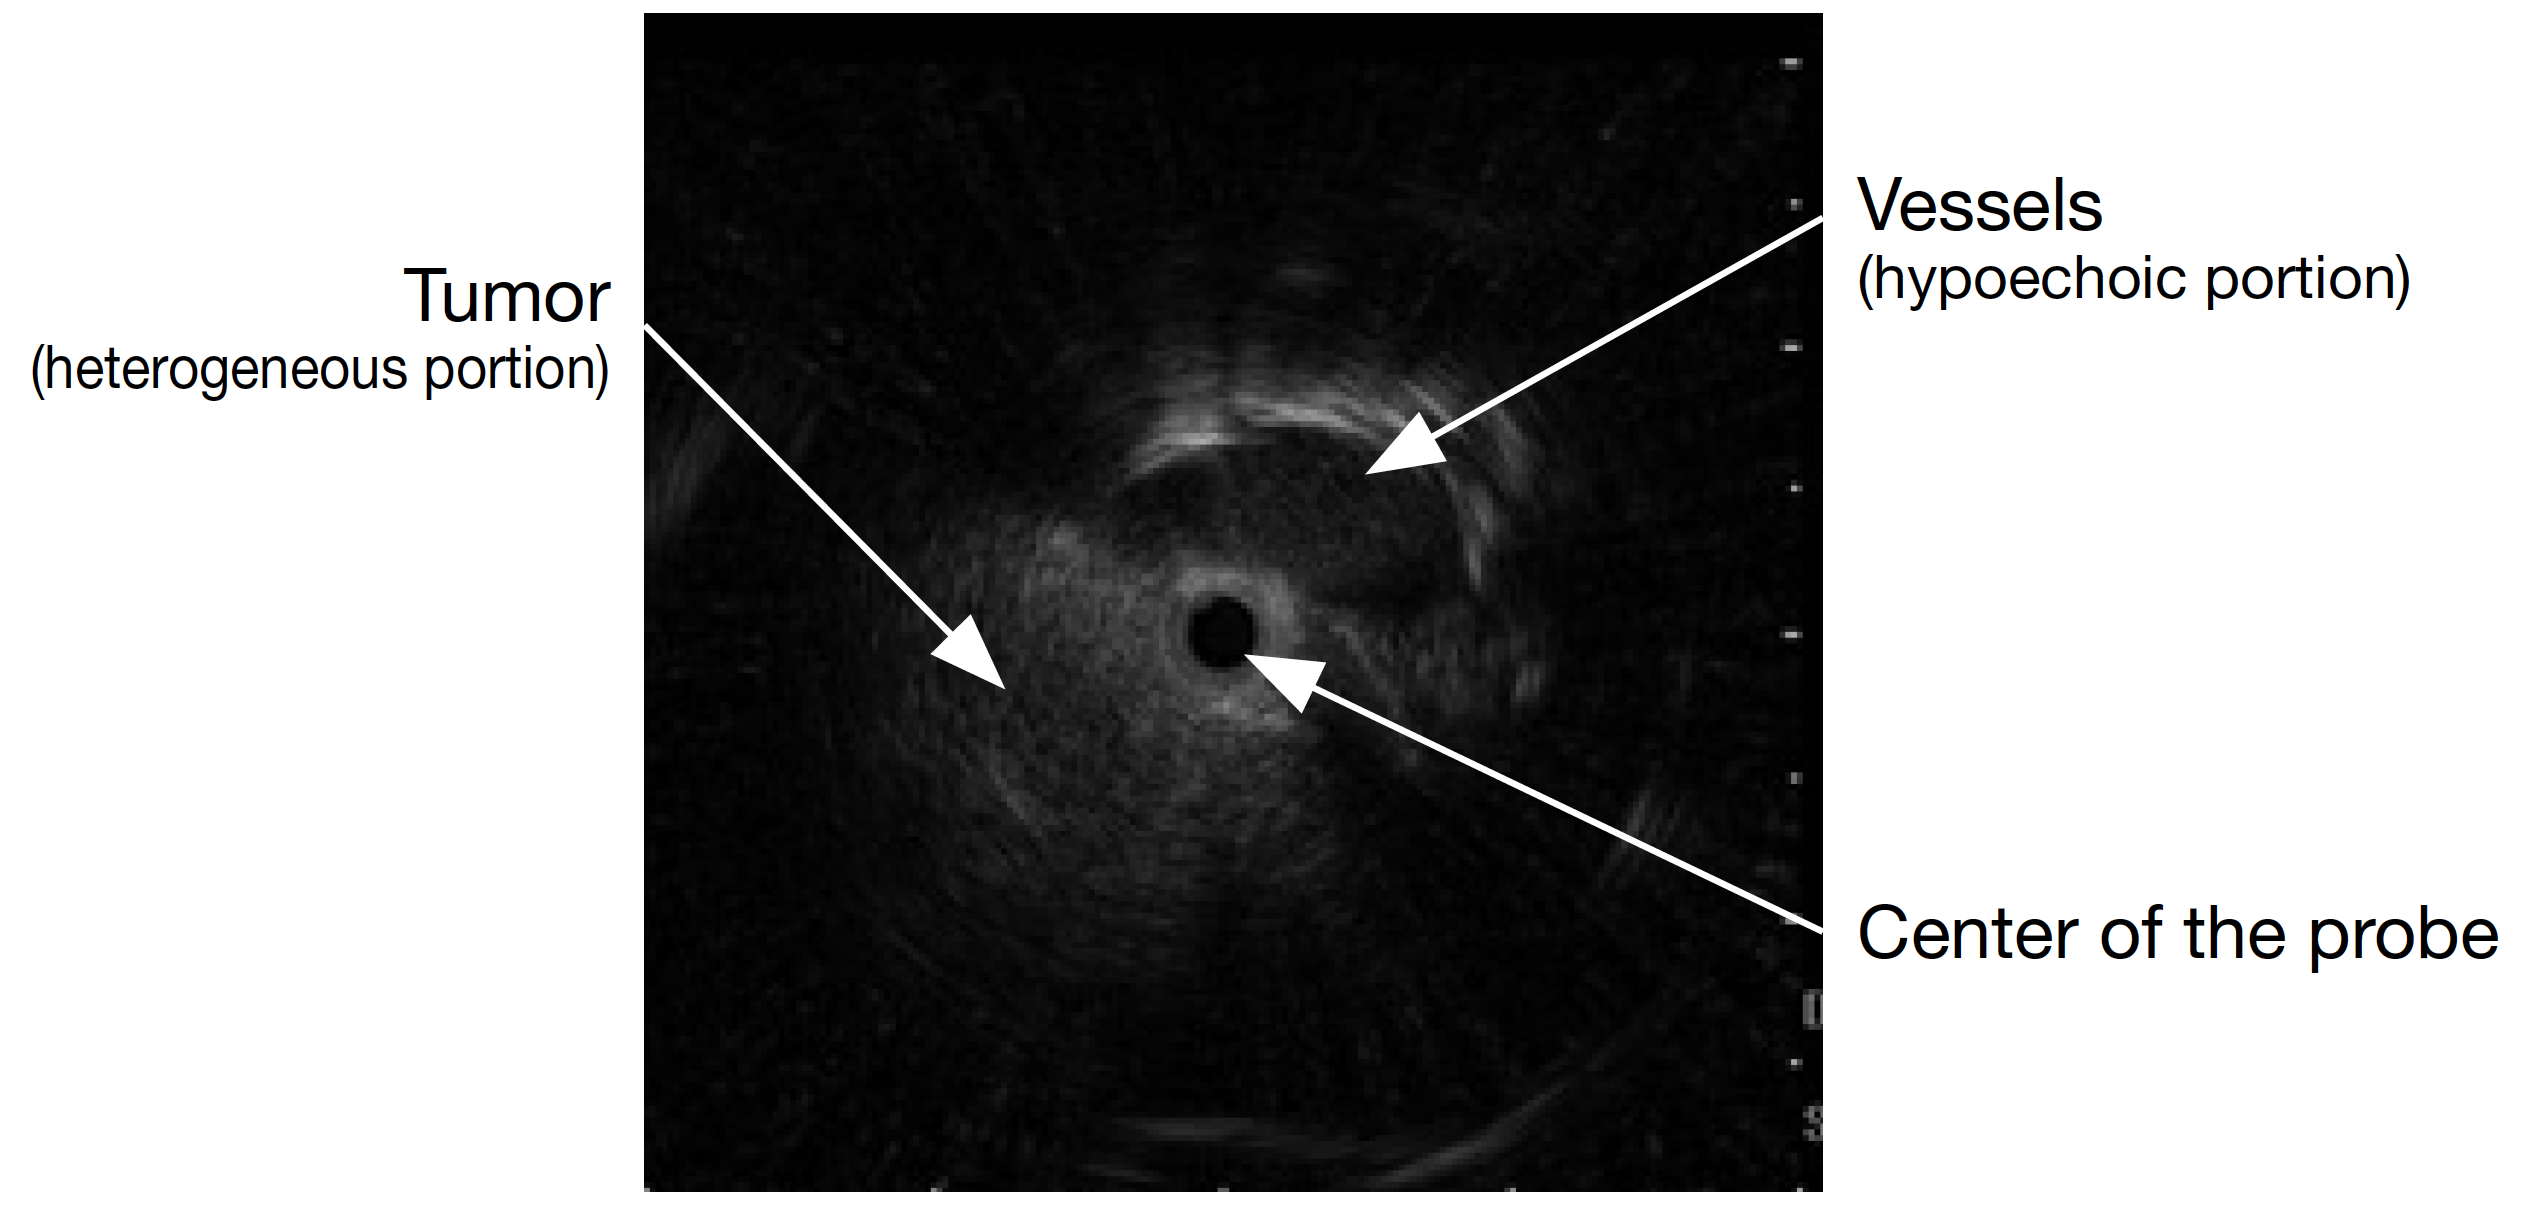
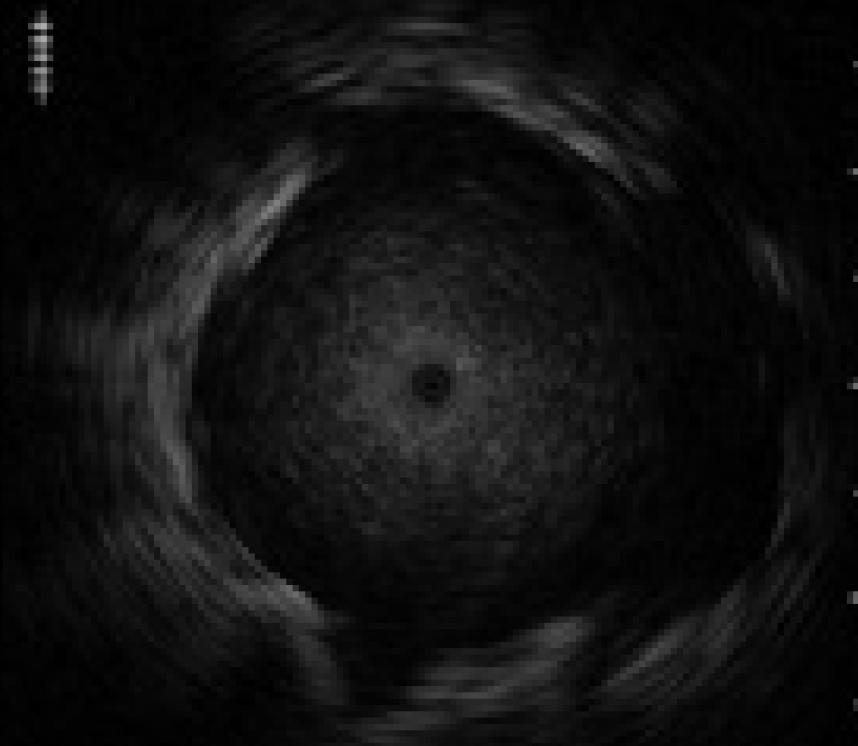
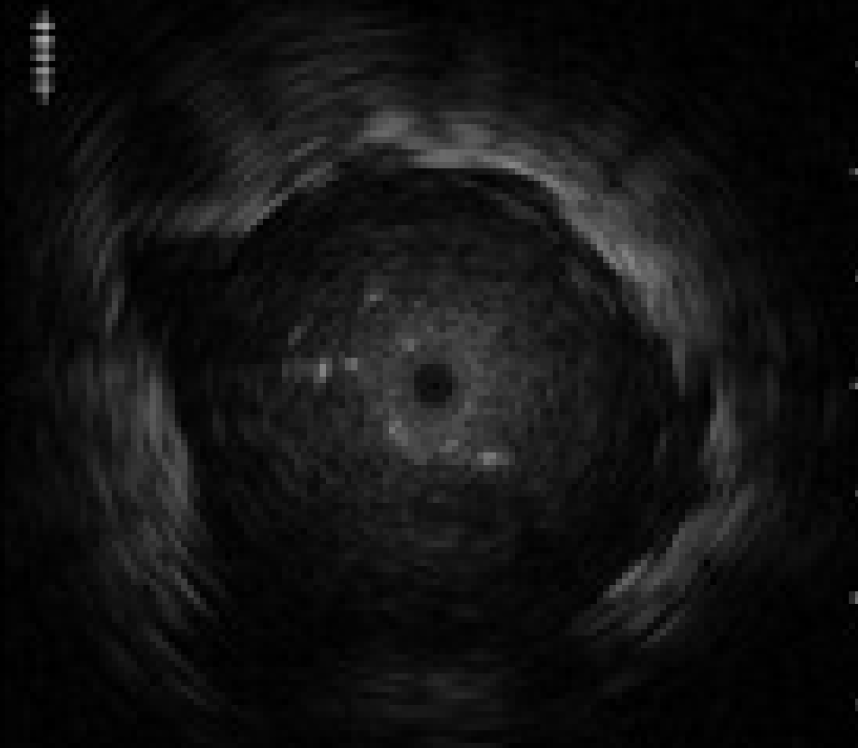
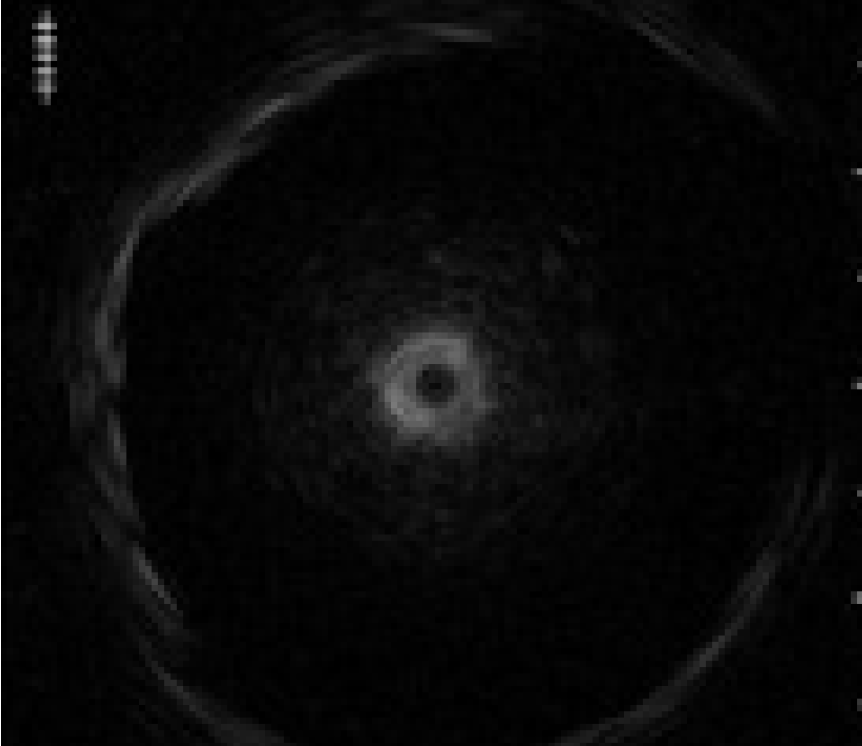
2) Actual EBUS images
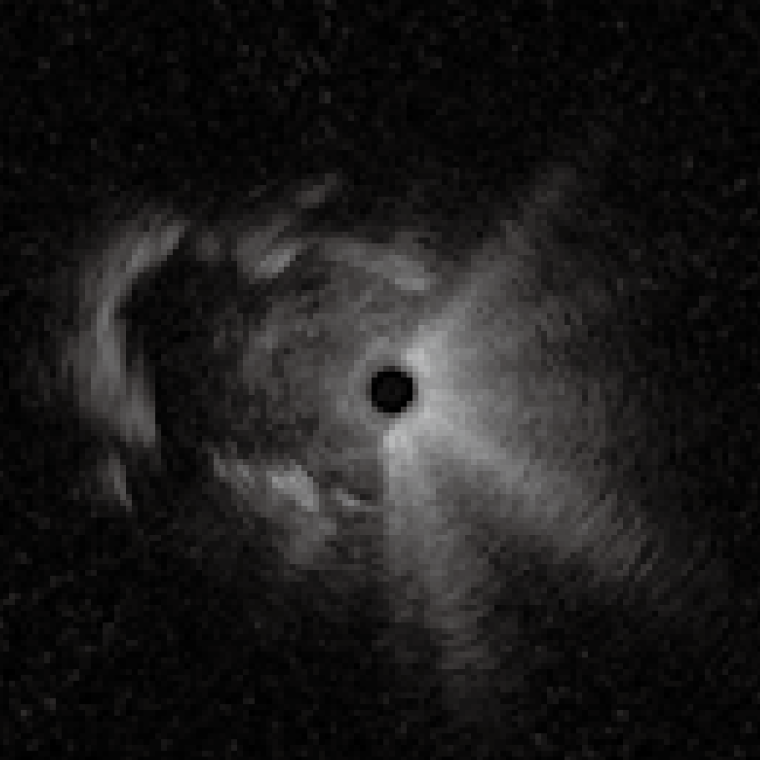
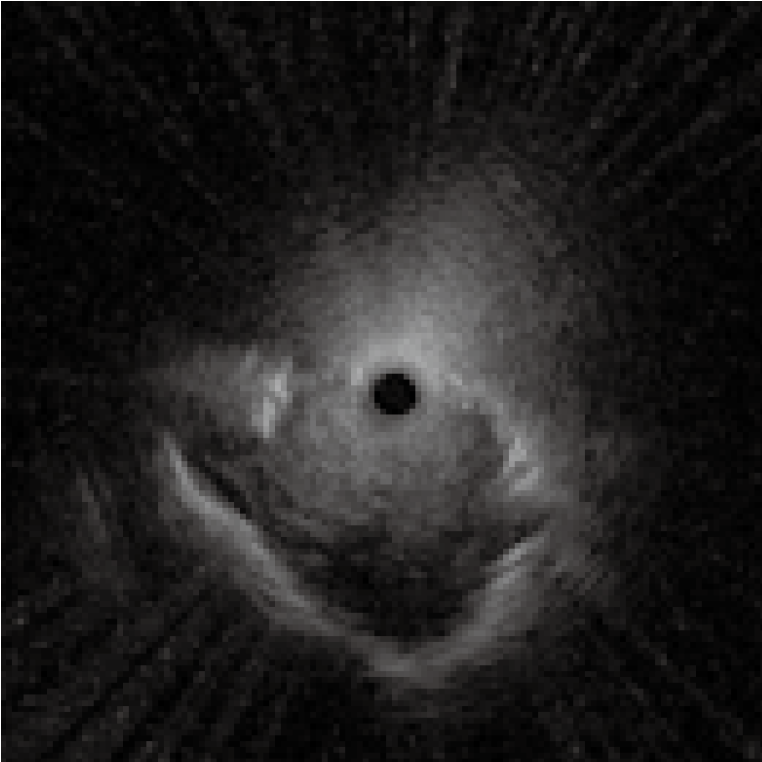
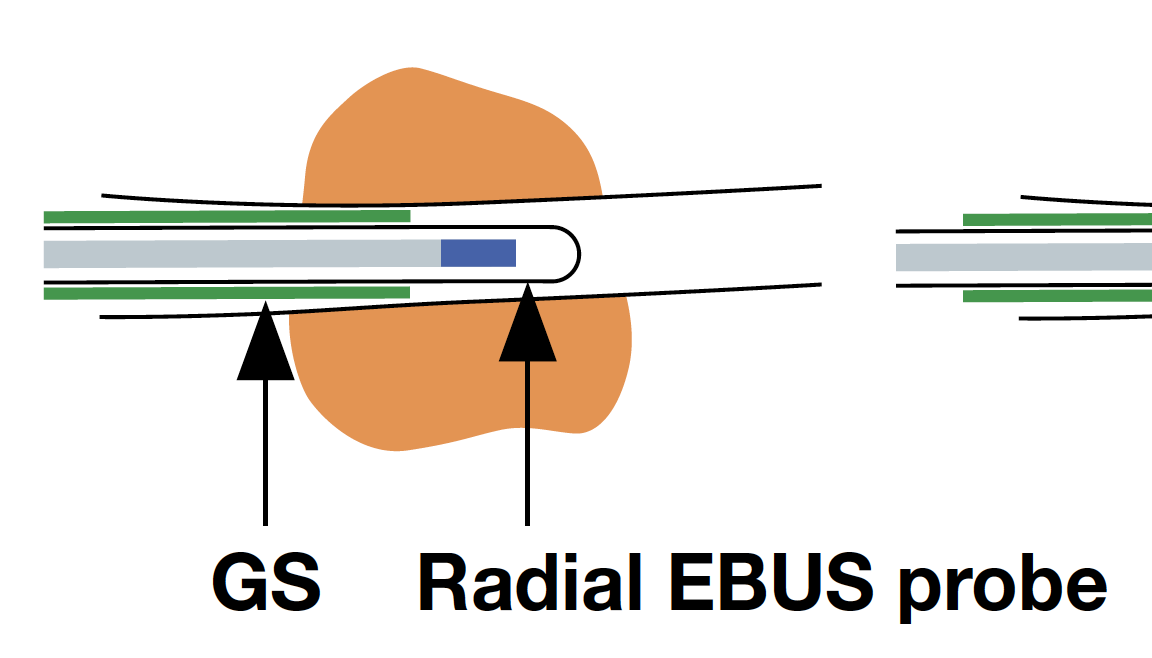
3) Distortion in the probe image
If the probe transducer touches or gets caught in the pleural membranes and bronchial walls, the EBUS images can appear distorted <Fig. 8>. If this occurs, avoid applying too much force when advancing the probe, as this may damage it.

Problems may arise if Radial EBUS probe cannot be inserted into the targeted lesion. Below are possible solutions:
① Select a different bronchial branch to insert the probe into under direct bronchoscopic view.
② Select a different bronchial branch to insert the probe into under x-ray fluoroscopy.
If the probe is not within the lesion, adjust the bronchoscope tip towards the target using the UP/DOWN lever and withdraw the probe. Thereafter, advance the probe while maintaining the same angle on the UP/DOWN lever. This will allow the probe tip to move towards the lesion.
③ Select a different bronchial branch to insert the probe into under ultrasound image.
If the probe is adjacent to the lesion as seen on EBUS image, use the UP/DOWN lever to check which angle will bring the probe closer to the lesion. Withdraw the probe and advance it while maintaining the same angle on the UP/DOWN lever. This will allow the probe tip to move towards the lesion.
④ Use a Guiding Device
When solutions ① through ③ fail to lead the probe into the lesion, use the Guiding Device (CC-6DR-1). Remove the probe without moving the GS and insert the Guiding Device until it extends from the distal end of the GS. Rotate and angulate the tip of the Guiding Device toward the direction of the lesion. (The trick is to bend the tip lightly. Bending the tip severely can damage the bronchial wall.) Then withdraw the Guiding Device slowly. If there is a bifurcation along the way, the tip of the Guiding Device will enter the desired bronchial branch. The Guiding Device can then be successfully inserted into the lesion. Advance the GS along the Guiding Device towards the lesion. Remove the Guiding Device and re-insert Radial EBUS probe into the GS to check if the probe has been successfully inserted into the lesion on the EBUS image.
4) Positioning the GS
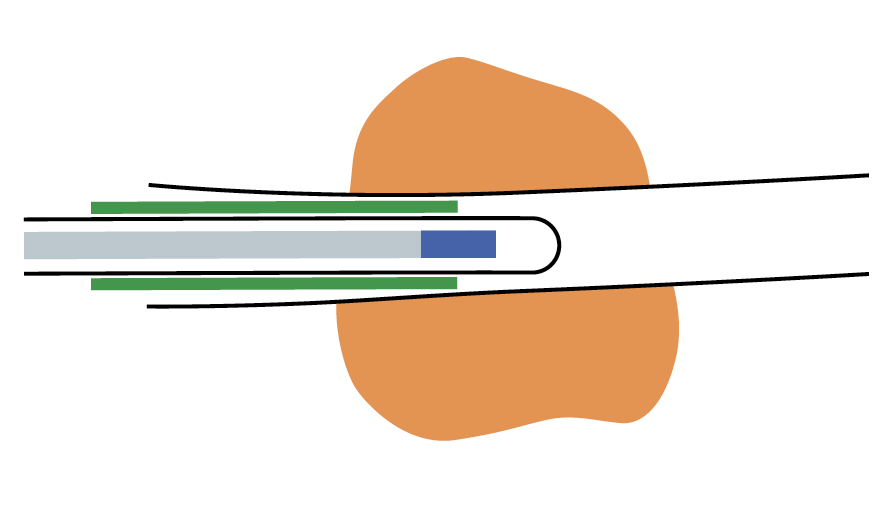
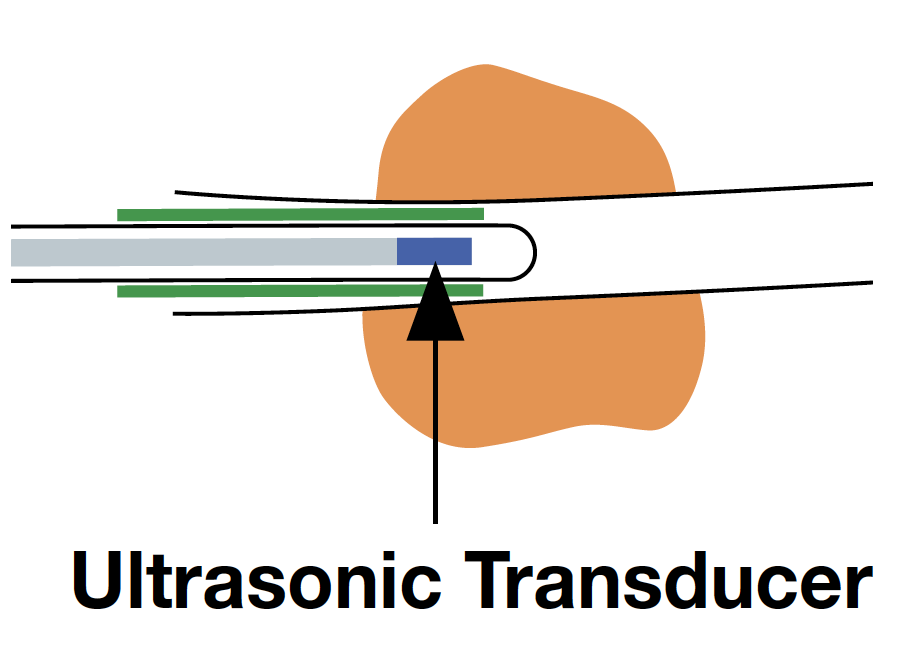
While observing the lesion in the EBUS images, withdraw the GS slightly up to the proximal side of the lesion, where the size of the cross-sectional view of the lesion becomes smaller.
Then, the assistant slowly advances and retracts the probe while the operator keeps the GS in position. As the assistant advances and retracts the probe, the EBUS images will change as follows: When the entire transducer is retracted into the GS, ultrasound is attenuated by being reflected from the GS, so that the brightness of the EBUS images is reduced. When the transducer is advanced back into the lesion, the EBUS image will return. This phenomenon will confirm that the GS is successfully placed within the lesion
<Fig. 9>.
During the procedure, memorize where the marker of the GS tip is located under x-ray fluoroscopy.
5) Collecting cells / tissues
Insert the cytology brush and biopsy forceps into the GS, until they reach the position of the ET stopper. Usually, the biopsy procedure is repeated, until approximately 5 specimens are collected.
① Cytology brush
Push the brush along the GS until it extends into the lesion and scrapes the area distal to the tip of the GS. Slight resistance may be felt during insertion of the brush. If the lesion is located directly below the pleural membranes, extra care should be taken not to push the brush too far out.
② Biopsy forceps
Ideally, the cups of the forceps should be open without moving the GS. If the cups are not open, the operator must make slight jabbing movements with the forceps until the cups open under fluoroscopy. Once the cups are open the forceps are pushed against the lesion. The cups are then closed while feeling the solid presence of tissue.
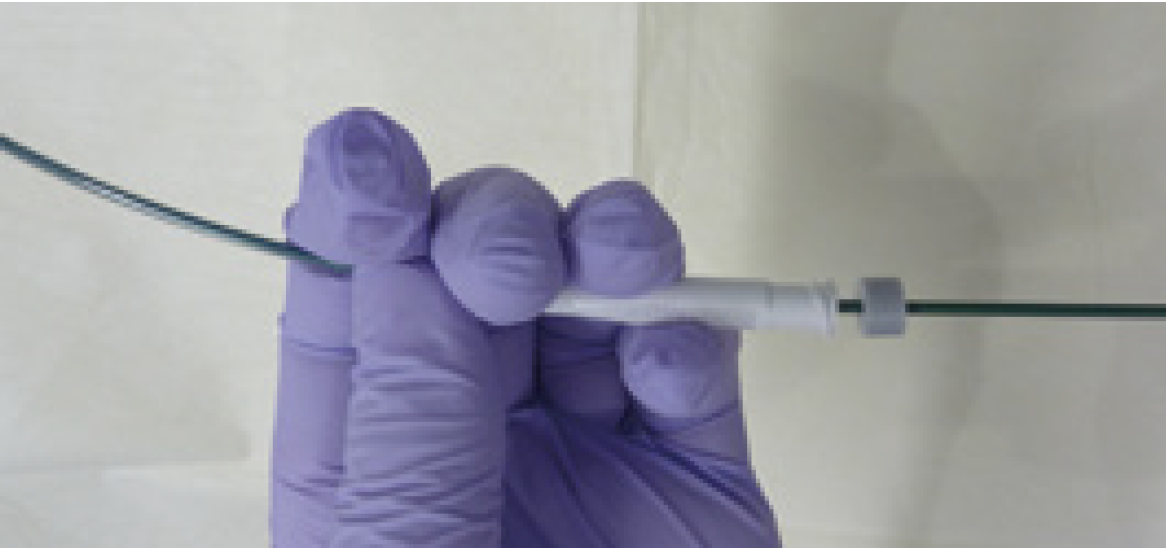
When removing the cytology brush and biopsy forceps from the GS, hold the GS joint and sheath section together as shown in the picture <Fig. 10>. Otherwise the GS may become kinked making it difficult to insert devices.
6) Removing the GS
If bleeding occurs, leave the sheath at the biopsy site for a few minutes (approximately 2 minutes). This will act as a pressure hemostasis. After leaving it for a few minutes, remove the GS and confirm that the bleeding has stopped. After removing the sheath, use saline to flush the cells left inside the GS and submit the solution for cytology and bacteriological examination.
- Content Type