Upper GI
Osamu Goto, MD, PhD Nippon Medical School Hospital
Suturing direction and scope’s position
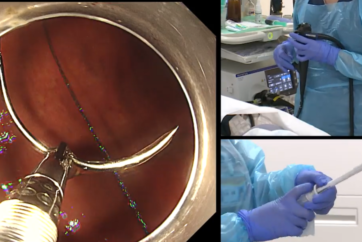
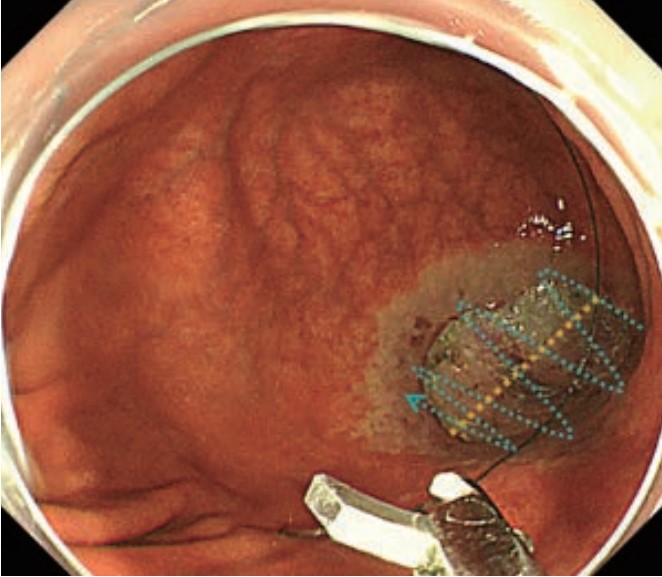
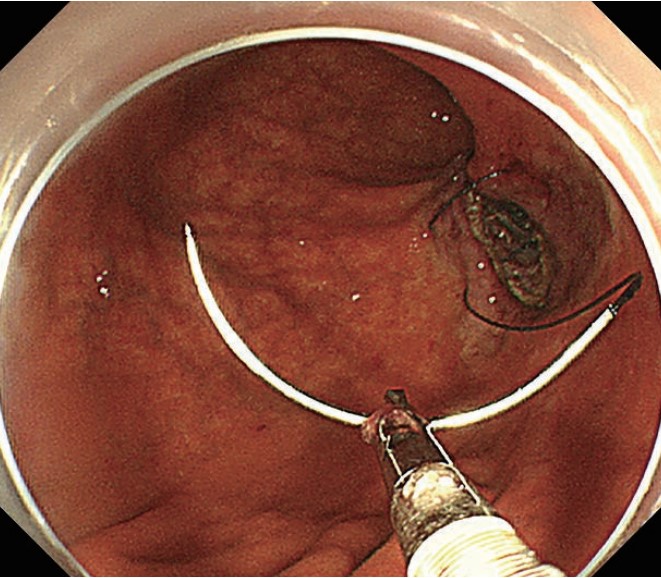
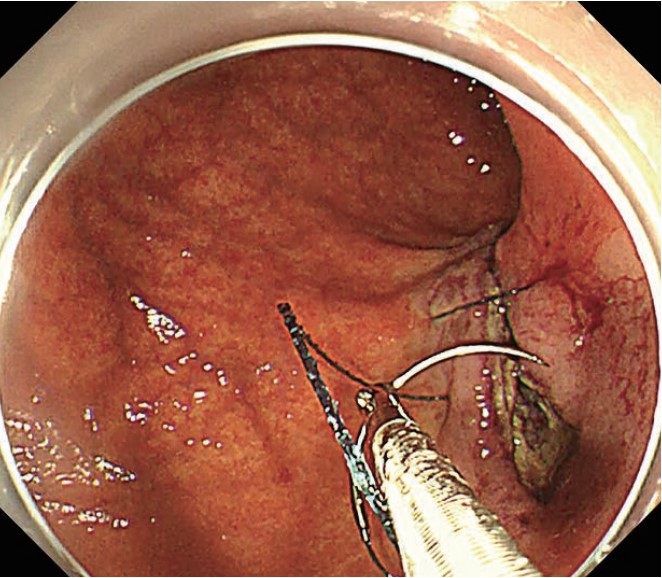
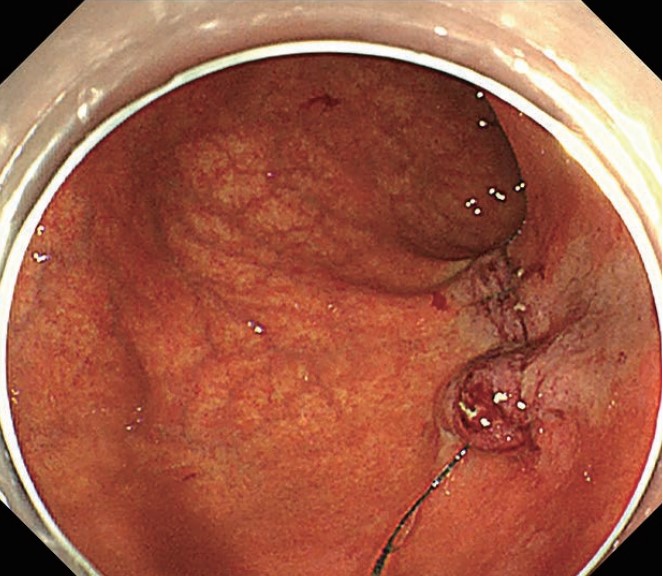
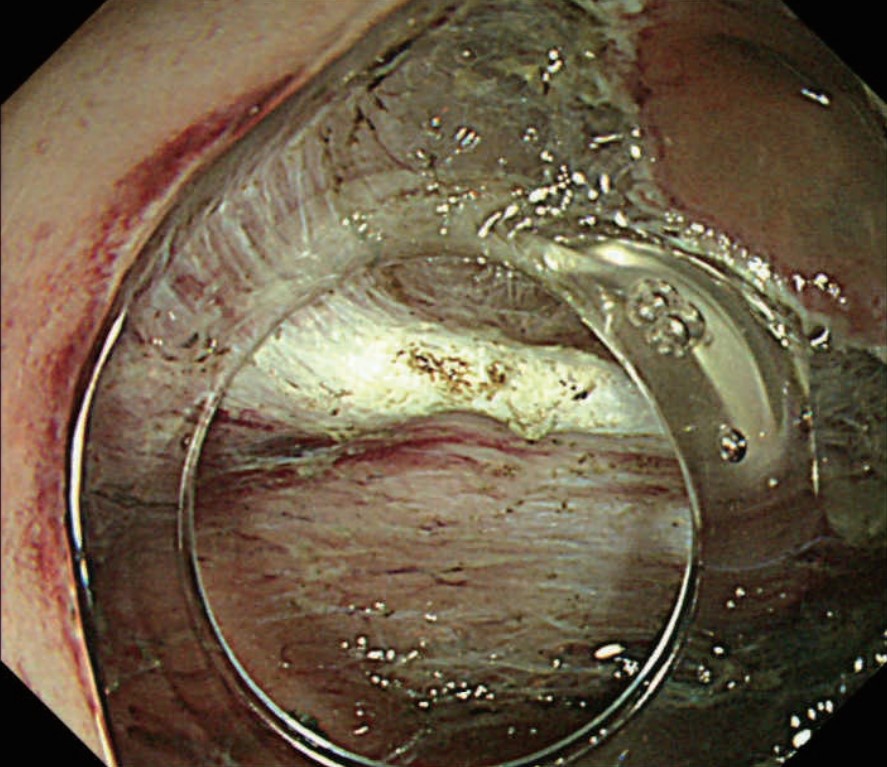
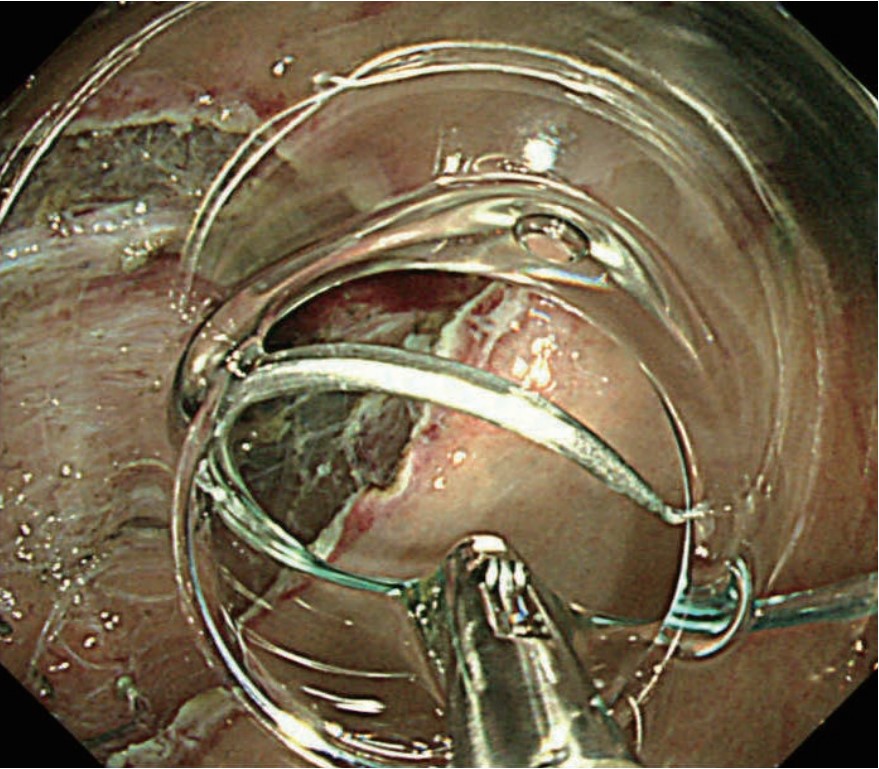
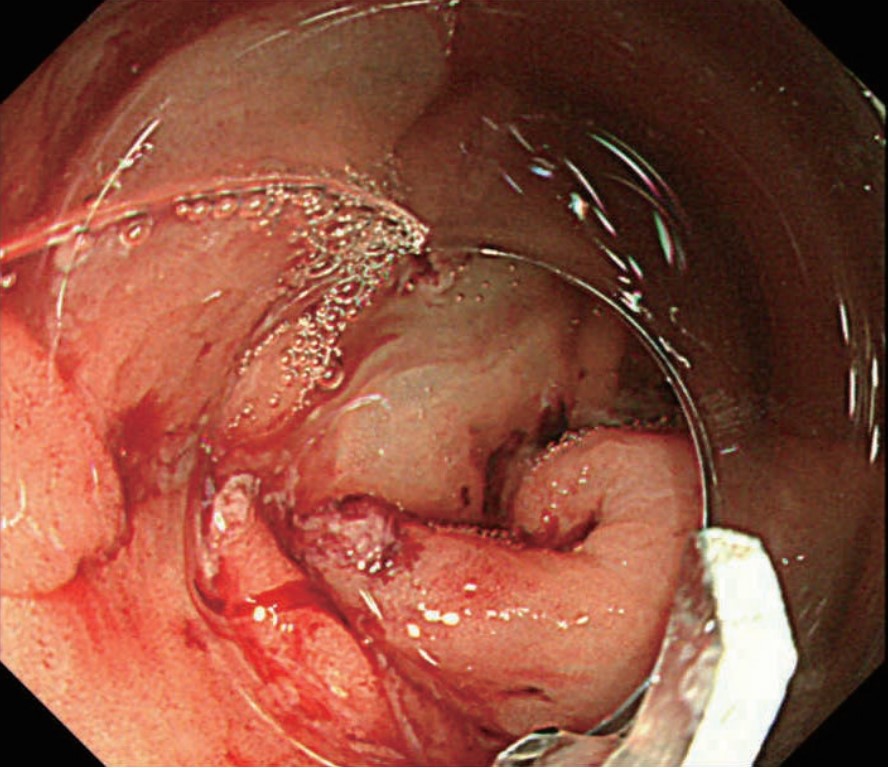
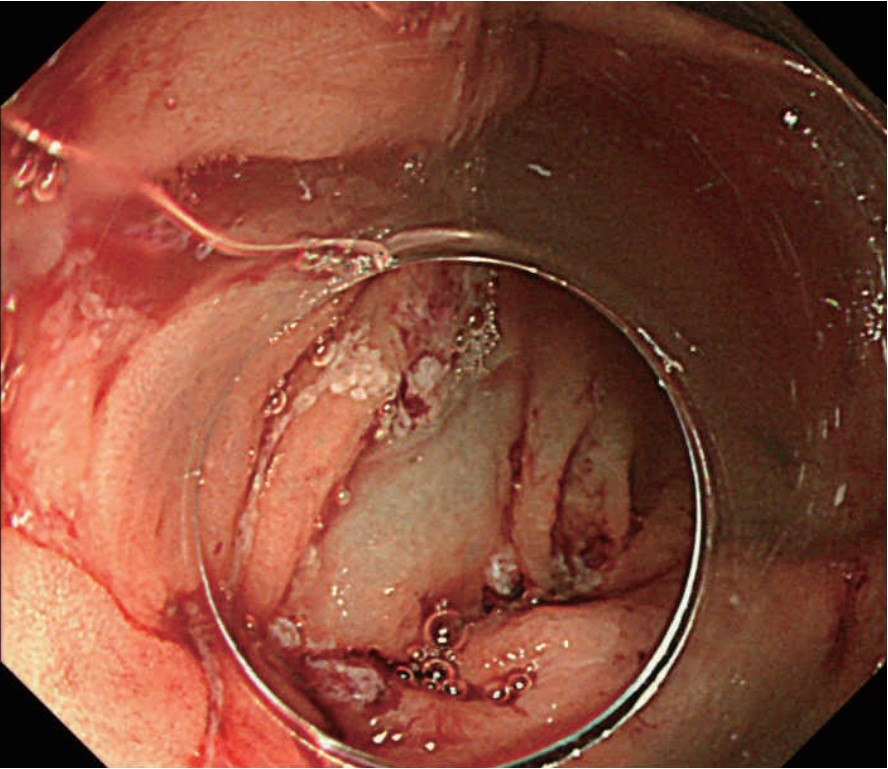
Since the stomach has a wide lumen and there is a lower risk of stenosis caused by suturing except in the cardia and pylorus, suture the site so that the suture line is in the long-axis direction. In most cases, start suturing from a point distant from the scope, moving closer as you suture (Photo 1). Maneuver the scope so that the defect is positioned in the lower part of the view field, while viewing the site obliquely and not from right above. When the site is in the upper stomach or somewhere in the anterior wall or lesser curvature, retroflex the scope to adjust the scope position (Photo 2).
.jpg)
(Photo 1)
.jpg)
(Photo 2)
* Yellow broken line: Proposed suture line
Green broken line: Direction of suturing
.png)
Suturing in practice
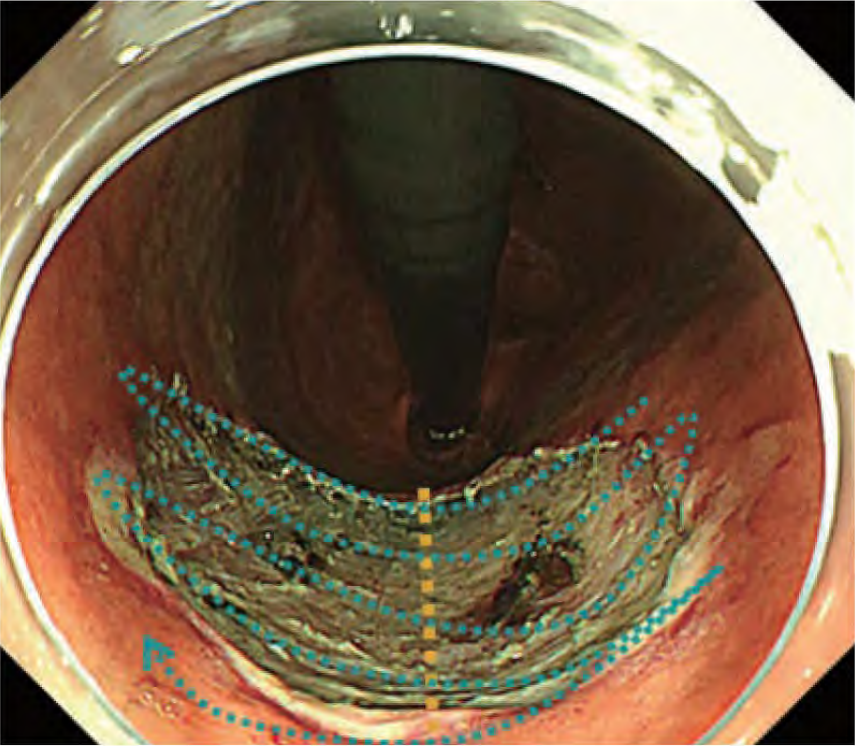
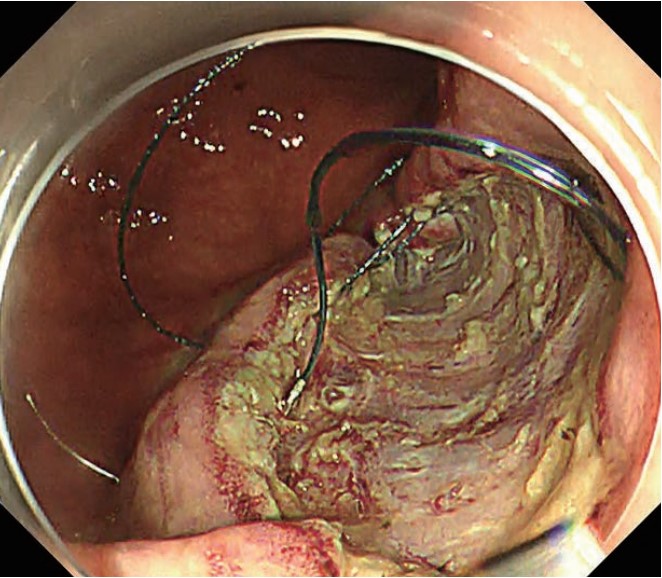
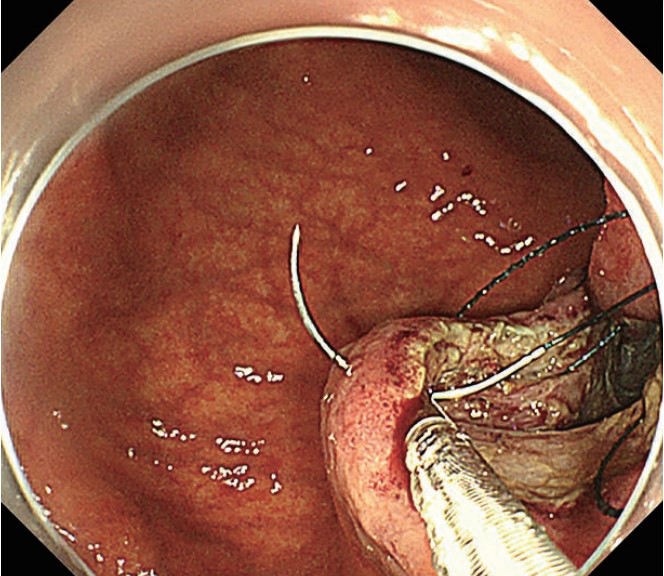
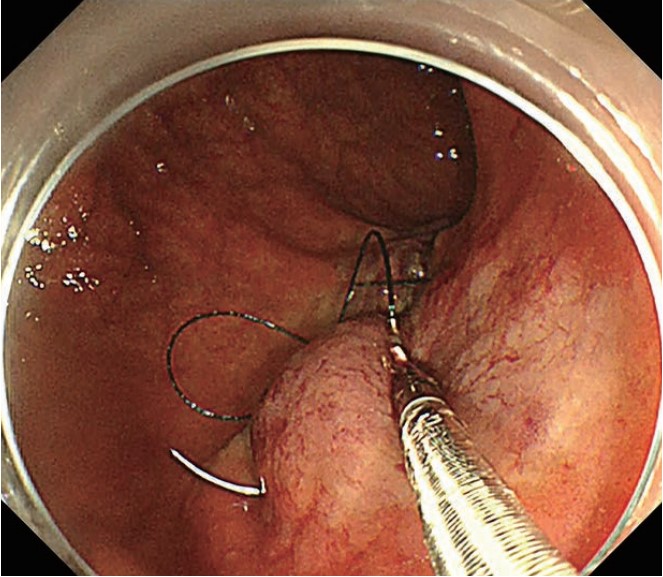
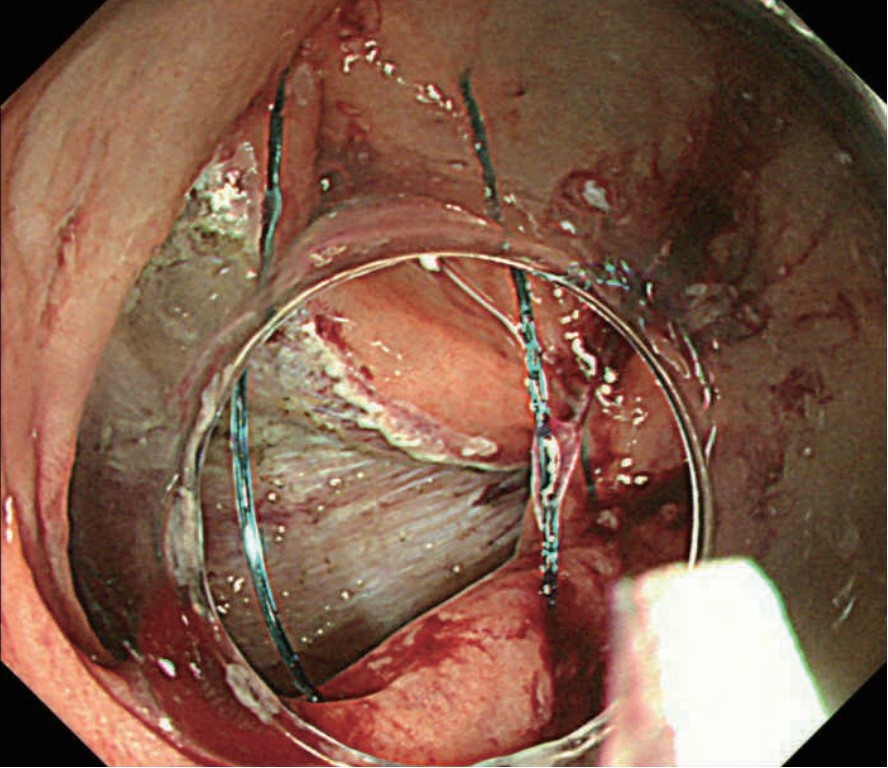
To ensure a suture “bite” (the distance from the point of insertion of the needle to the edge of the mucosal defect) of 8 mm or more, insert the needle at a point outside the mucosal rim of the defect and slide the needle through the tissue immediately above the muscle layer, pushing it out of the tissue immediately above the muscle layer on the edge of the defect. Then insert the needle at a lateral point on the opposite mucosal rim and move it to a point 8 mm or more from the mucosal rim. After securing the suture thread, perform continuous suturing at 5–7 mm intervals (Figure 1). When you reach the end, grasp the suture and pull it to draw together the tissues. You can pull the suture at every stitch. However, if the sutured area is tied too tightly, the edge of the defect may be pulled inward, which could make it difficult to guide and insert the needle at an appropriate depth in the next suture. So only tighten the stitches up to the one before last. (Photos 1–8)
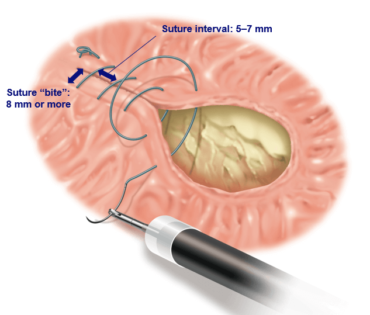
(Figure 1)

Notes on anatomy
It is easier to place the suturing site in the lower part of the view field in the gastric body, especially in the greater curvature and posterior wall, because the scope can be kept straight in those regions. Consequently, this procedure can be performed most easily there. In the antrum and lesser curvature, on the other hand, it may be necessary to retroflex the scope to suture the defect. Therefore, it is required that the suture start position and piercing direction be decided carefully in advance. As suturing proceeds, the lumen becomes narrower in the antrum, which may make it difficult to manipulate the needle. Use extra caution if this happens. In the angulus and fundus, the degree of difficulty is especially high in terms of positioning the scope at an appropriate angle. Also, it is usually a good idea to avoid suturing in the cardia and pylorus whenever circumstances allow since the technique itself is difficult in those regions and there is a risk of stenosis.
Yutaka Saito, MD, PhD Endoscopy Division, National Cancer Center Hospital
Dr. Saito graduated from Gunma University School of Medicine in 1992 and completed the postgraduate course in medicine at the same school in 1996. For the next five years he continued his studies as a resident and chief resident in the Endoscopy Division at the National Cancer Center Hospital, then moved on to the Department of Gastroenterology at Mitsui Memorial Hospital in 2001 where he spent two years. In 2003, he returned to National Cancer Center Hospital’s Endoscopy Division where he continued to pursue a career in clinical diagnosis and treatment, as well as research in gastrointestinal endoscopy. He has been the Director of the Endoscopy Division at the National Cancer Center Hospital since 2012. He also has served as an attending Professor of Gastroenterology at Tokyo Medical University since 2017.
Lower GI
Insertion precaution
When inserting the needle from the anus, you can avoid injury to the anus by using a single-use splinting tube (Olympus ST-CB1) or lower GI sliding tube.
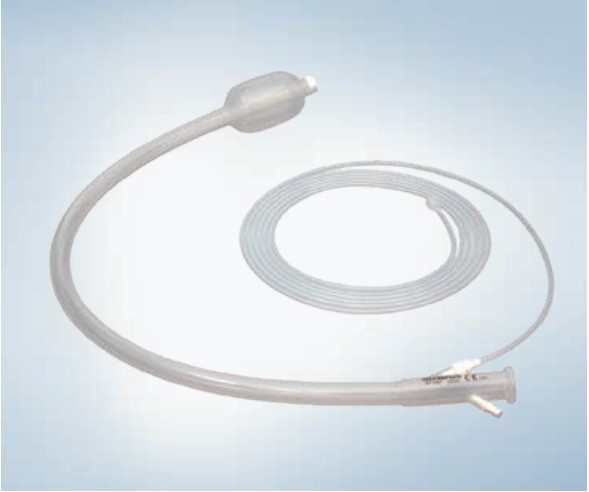
Single-use splinting tube
ST-CB1
Suturing direction
Because space is limited in the colon, stenosis may occur if the suture line is made in the long axis direction of the lumen as is done in the stomach. Thus, suture the site while closing the mucosal defect as if bringing the tissue proximally and distally with respect to the lumen so that the suture line is in the short axis direction (Figure 2).
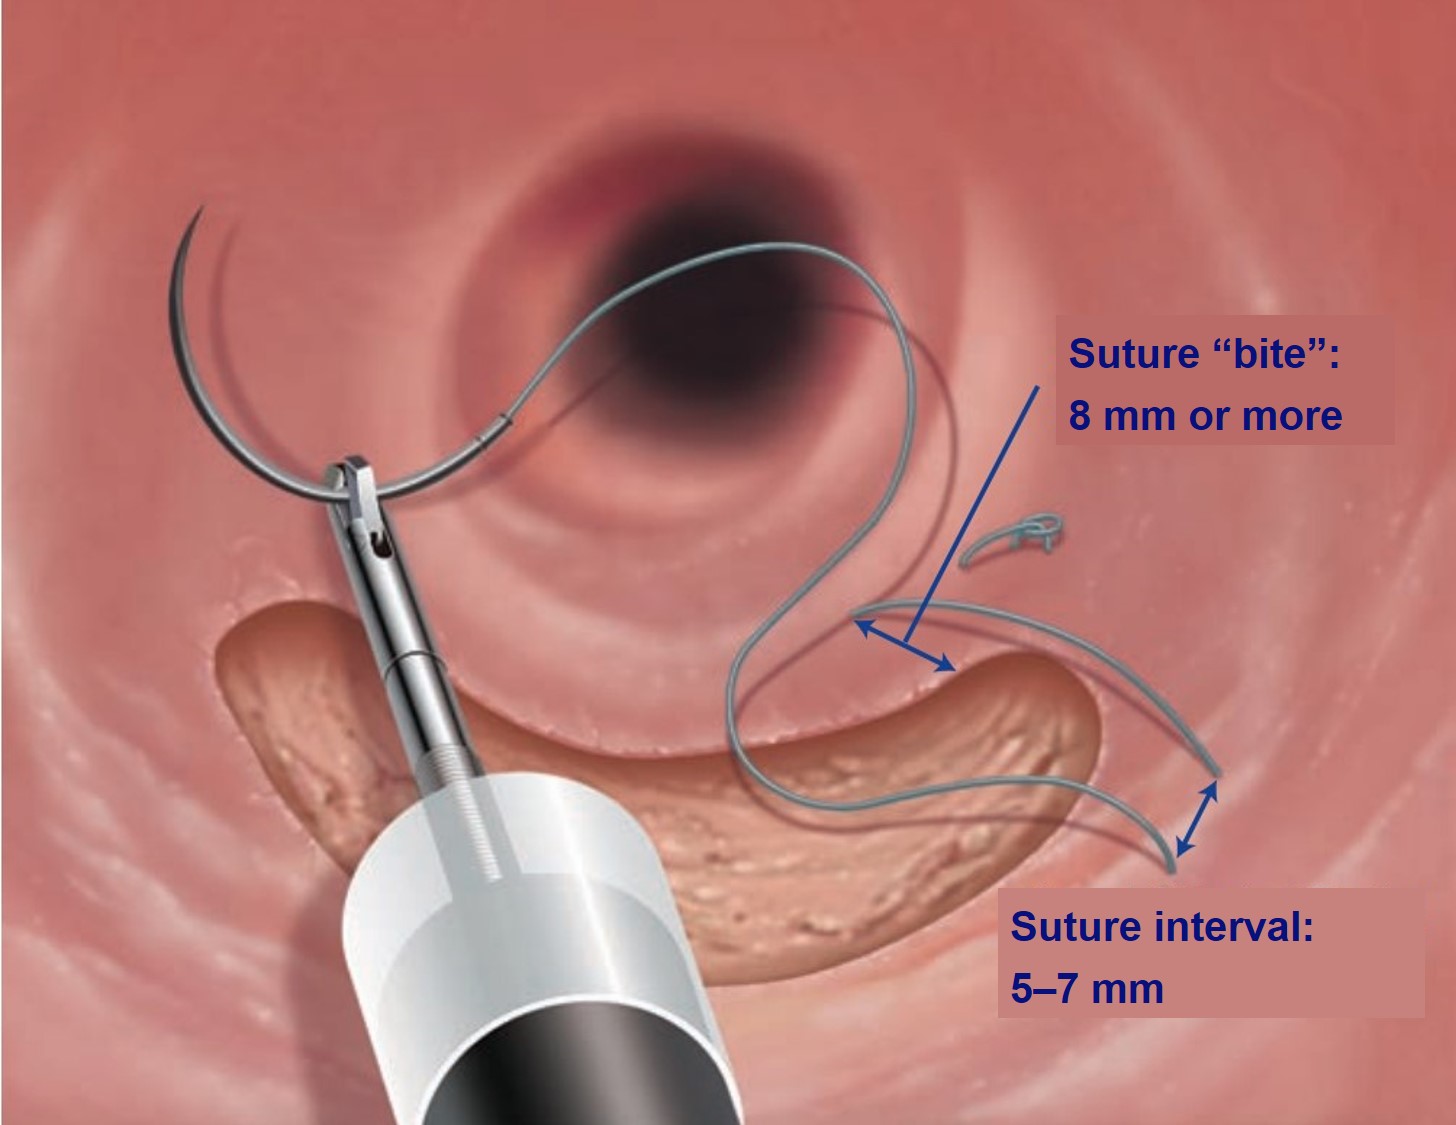
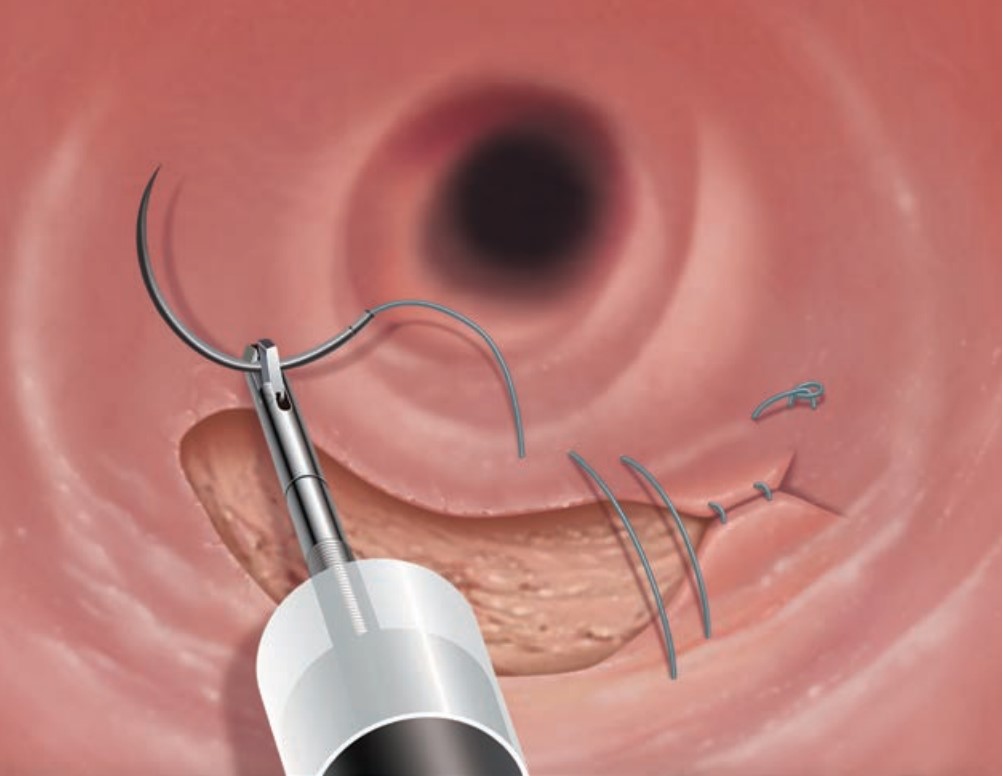
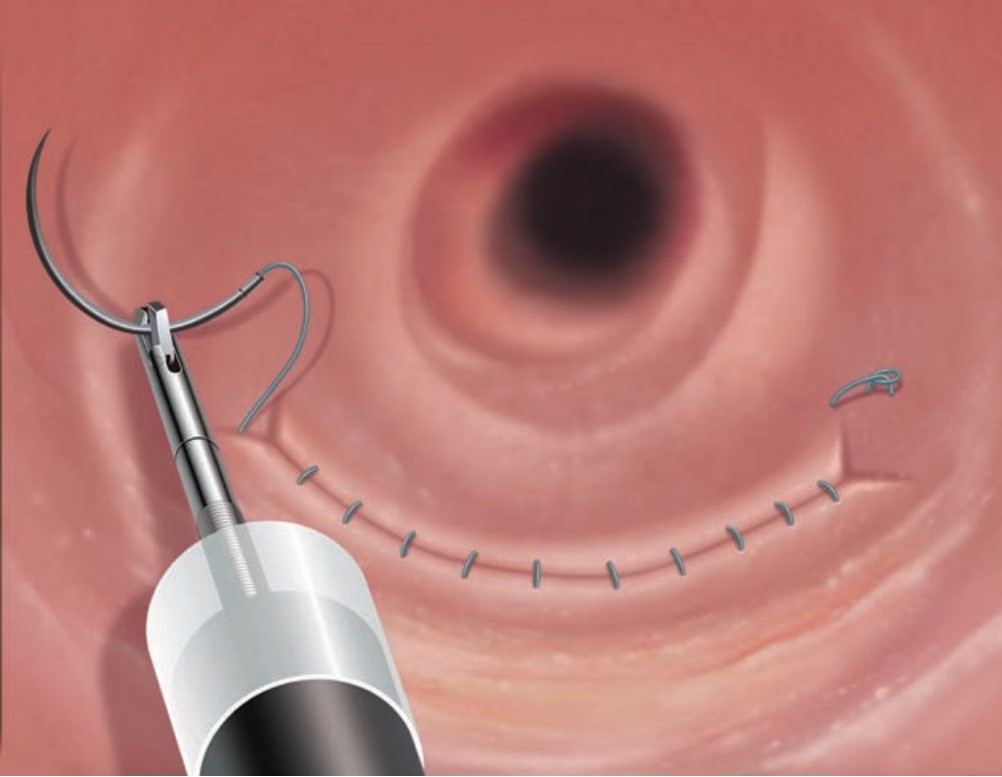
Figure 2 EHS in the colon
That is, pass the needle alternately through the oral and anal sides of the tissue, sewing the thread longitudinally across the suture.
Suture interval, bite, and depth, degree of stitching, etc.
The muscle layer of the colon is thinner than that of the stomach. To prevent the needle from poking through the lumen, always inject saline into the normal mucosa around the ulcer base. To ensure a suture “bite” (the distance from the point of insertion of the needle to the edge of the mucosal defect) of 8 mm or more, insert the needle at a point in the mucosa at the edge of the ulcer base on the oral side and slide the needle right above the muscle layer, pushing the needle point out right above the muscle layer on the edge of the mucosa around the defect. Then insert the needle right above the muscle layer on the edge of the mucosa on the anal side of the ulcer base. Advance the needle as if sliding right above the muscle layer and push it out at a point 8 mm or more from the edge of the defect. Now pull the thread to eliminate any slack.
After securing the suture thread, perform continuous suturing at 5–7 mm intervals from the oral side to the anal side in the same manner described above (Figure 2). Every time you make a stitch, pull on the thread to draw the tissue together. However, if you tie the sutured area too tightly, the edge of the defect may be pulled inward, making it difficult to guide and insert the needle at an appropriate depth in the next suture. To avoid this, don’t tighten the last stitch.
Additional tips
When performing a procedure at the proximal colon — e.g., in the cecum, it is a good idea to use a disposable sliding tube to perform ESD and EHS as this will make it easier to switch devices. At our hospital, we use a short ST hood (Fujifilm DH-28GR) when we do a colonic ESD. This way we can keep the hood attached to the scope tip even when we use a disposal sliding tube.
Another point to remember is that you need to start suturing from the anal side when the site is close to the anal verge. If suturing of the anal side is left until the end, suturing will be quite difficult. You can also retroflex the scope to perform this technique.


Figures
( A )After cecal ESD
( B )A needle is inserted through the disposable sliding tube and delivered to the ulcer after ESD.
( C )The first stitch is made on the right end of the defect. Insert the needle at a distal point with respect to the endoscope.
( D )To make the third stitch, insert the needle at a point roughly median and distal with respect to the endoscope.
( E )The thread is pulled to securely tighten the stitch.
( F )Excess thread is cut with scissors forceps.
(G, H) The 5 cm ulcer in the base of the cecum is now completely sutured.
- Content Type